Get Your Minivan Back on the Road, Hassle-Free
Is your reliable 2000 Dodge Caravan or Chrysler Town & Country suddenly giving you trouble? Stalling at intersections, refusing to start, or running rough can be incredibly frustrating, especially when you depend on your vehicle for family duties. A faulty Engine Control Module (ECM) is often the hidden culprit behind these issues, but the solution doesn’t have to involve an expensive trip to the dealership. This pre-programmed engine computer is the straightforward, reliable fix you need to restore your minivan’s performance and your peace of mind.
Common Symptoms & Your Solution
If you’re experiencing any of the following, a failing ECM is the likely cause. This replacement unit is designed to solve these problems directly:
- Complete no-start condition
- Engine stalling or cutting out intermittently
- Rough or unstable idle
- Poor acceleration and loss of power
- Decreased fuel economy
- Check Engine Light with communication error codes (like P0601, P0605, P0606)
By installing this precisely programmed 2000 Dodge Caravan Engine Computer, you are not just replacing a part; you are restoring the core of your vehicle’s operational stability.
Features & Benefits
- ✔ No Dealer Visit Needed: This unit arrives fully programmed to your vehicle’s specific VIN and mileage. It’s a true plug-and-play solution, saving you significant time and money.
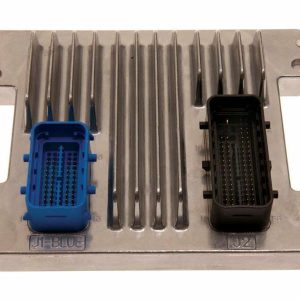
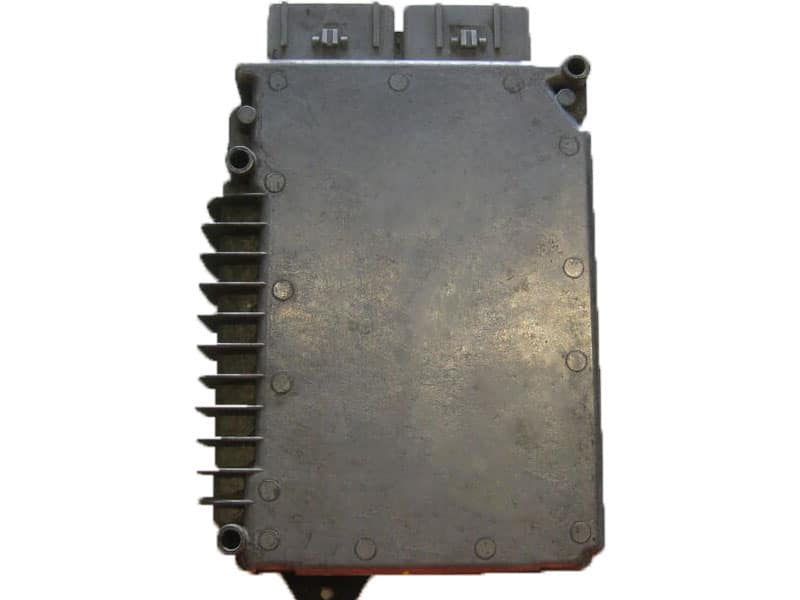
- ✔ Simple, Straightforward Installation: Get back on the road faster. Simply disconnect the old module located on the driver’s side fender and connect this one. No complicated programming tools are required.
- ✔ Guaranteed Compatibility: A direct replacement for part numbers 04727282AB and 05017591AA, ensuring a perfect fit and function for your 2000 Caravan or Town & Country with the 3.8L FWD engine (Federal emissions).
- ✔ Restored Performance & Reliability: Each module is meticulously inspected and tested to restore your minivan’s original performance, fuel efficiency, and the dependability you and your family count on.
- ✔ Peace of Mind Protection: This unit is backed by our one-year replacement warranty.
An Expert’s Tip for a Lasting Repair
From over 20 years in the garage, I can tell you that a solid electrical connection is everything. Before installing your new 2000 Dodge Caravan Engine Computer, take an extra five minutes to clean the main harness connectors with electrical contact cleaner. Also, ensure the module’s mounting points are clean and free of corrosion. A good, clean ground connection is critical for the long-term health and performance of any electronic module. This simple step can prevent a world of headaches down the road.
Don’t let a faulty computer dictate your family’s schedule. This is the smart, effective solution to get your trusted minivan performing like it should. By providing a reliable, pre-programmed 2000 Dodge Caravan Engine Computer, we help you solve the problem correctly the first time.
Frequently Asked Questions
Do I need to have this programmed by a dealer?
Absolutely not. This is the main benefit of our service. The engine computer will arrive at your door fully programmed to the VIN and mileage you provide. It is a true plug-and-play installation.
Where is this module located on my 2000 Caravan?
The Electronic Control Module (ECM) on the 2000 Dodge Caravan and Chrysler Town & Country is typically located in the engine bay, mounted to the driver’s side (LH) fender well.
Will this fix my check engine light?
If your check engine light is on due to an internal fault within the original engine computer (such as a P0601 code), then this replacement module will solve the problem and allow the light to be cleared.
What information do you need from me?
During checkout, we will require your vehicle’s 17-digit Vehicle Identification Number (VIN) and the current mileage. This ensures we can program the module perfectly for your specific van.
Is this a difficult part to install?
For someone with basic mechanical skills and common hand tools, this is a very straightforward installation. It involves disconnecting the battery, unplugging the electrical connectors from the old module, unbolting it, and then reversing the process with the new unit.