

Tired of Unpredictable Electrical Problems in Your GM Vehicle?
As a technician with over 20 years of experience under the hood, I’ve seen it all. A car that won’t start one day and is fine the next. Power windows with a mind of their own. A security light that flashes for no reason, leaving you stranded. These aren’t just annoyances; they’re classic signs of a failing Body Control Module (BCM). The BCM is the central nervous system for your vehicle’s body electronics, and when it starts to go, it can cause a cascade of frustrating, hard-to-diagnose issues. This isn’t just a part; it’s the solution to restoring order and reliability to your car, truck, or SUV.
We solve the biggest headache of BCM replacement: the programming. Forget towing your vehicle to a dealership and paying hundreds for programming fees. Simply provide us with your vehicle’s VIN at checkout, and we’ll flash this module with the latest GM software specifically for your vehicle. It arrives at your door ready for installation, saving you significant time and money. This is the same process we’ve used in our shop for years to get customers back on the road quickly and confidently.
A Technician’s Notebook
Just last month, a 2009 Chevy Impala was towed to my bay. The owner was at his wit’s end. The radio would turn on and off, the interior lights flickered like a disco, and the final straw was the anti-theft system kicking in, preventing the engine from starting. A quick scan showed a dozen communication codes, all pointing back to one culprit. After confirming power and ground, we diagnosed a faulty BCM. Instead of a costly dealer part, we used one of our pre-programmed modules. The installation took less than an hour, and with a few post-install procedures, the car was running perfectly. All the strange electrical gremlins were gone. This is a common story, and this GM Body Control Module is the reliable fix.
Are These Symptoms Familiar?
- ✔ Intermittent no-start conditions or a flashing security light.
- ✔ Power windows, door locks, or interior lights operating erratically.
- ✔ The horn or alarm sounding unexpectedly.
- ✔ Instrument cluster gauges behaving strangely or not working at all.
- ✔ Communication error codes with other modules (like the ECM or TCM).
- ✔ A persistent battery drain that you can’t trace to another source.
Your Straightforward BCM Installation Guide
- Safety First: Always disconnect the negative terminal from your vehicle’s battery before starting any electrical work.
- Locate the BCM: The location varies by model. Common spots include behind the driver’s or passenger’s side of the dashboard, under the steering column, or in the center console. Your fitment details above provide a hint (e.g., ‘LH dash’).
- Remove Trim Panels: Carefully remove any plastic trim or panels necessary to access the module. Use a trim removal tool to avoid scratching or breaking clips.
- Disconnect and Remove: Unplug the electrical connectors from the old BCM. They have locking tabs that need to be depressed. Once disconnected, unbolt or unclip the old module and remove it from the vehicle.
- Install the New Module: Mount your new, pre-programmed GM Body Control Module in the same location and re-secure it. Reconnect all the electrical harnesses, ensuring they click securely into place.
- Post-Installation Procedures: Reconnect the battery. You will now need to perform any required relearn or setup procedures.
Critical Post-Installation Steps
After installing your new BCM, a few final steps are essential for full functionality. These are not optional and ensure your vehicle’s safety systems operate correctly. While some DIYers with advanced scan tools can perform these, we often recommend consulting a professional technician if you’re unsure.
- Airbag System (SRS): The ‘Setup SDM Primary Key in BCM’ procedure must be performed with a compatible diagnostic tool. This syncs the new BCM with the airbag module and will clear the airbag warning light from your dash.
- Brake Pedal Position Sensor: On many models, the Brake Pedal Position Sensor will need to be recalibrated. This is crucial for the proper operation of your brake lights, cruise control, and traction control systems.
Verified Fitment For Your GM Vehicle
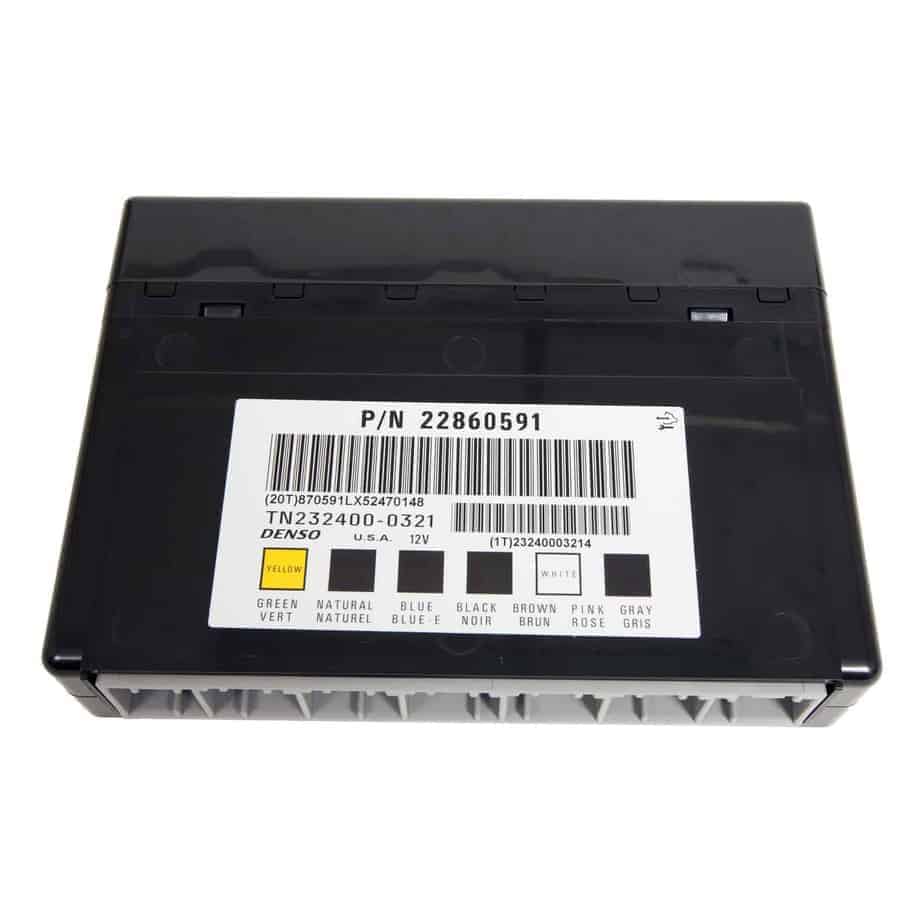
This module is a direct replacement for a wide range of part numbers and fits many popular GM models. Please verify your vehicle is on this list. Note that some models require matching the ID number on your original part.
Interchangeable Part Numbers: 10382479, 15093910, 15276271, 15299986, 15819552, 15828601, 15837419, 15872388, 15872421, 15880684, 15921352, 15921353, 15948438, 15948439, 20815898, 20839063, 20864767, 20864768, 20921435, 20921436, 20935349, 22860591, 25826124, 25826125, 25847588, 25847589, 25892622, 25910474, 25934762, 25934763, 95151084
Compatible Models Include:
- Acadia (2007-2012)
- Avalanche 1500 (2010)
- Caprice (2011-2013)
- Captiva Sport (2012)
- CTS (2008-2013)
- DTS (2006-2011)
- Enclave (2008-2012)
- Equinox (2007-2009)
- Escalade, ESV, EXT (2010)
- Express Vans (1500/2500/3500, 2008-2012)
- G8 (2008-2009)
- Hummer H2 (2008-2009)
- Impala (2006-2013)
- Lucerne (2006-2011)
- Monte Carlo (2006-2007)
- Outlook (2007-2010)
- Savana Vans (1500/2500/3500, 2008-2012)
- SRX (2007-2009)
- STS (2010)
- Suburban 1500 (2010)
- Tahoe (2010)
- Torrent (2007-2009)
- Traverse (2009-2012)
- Vue (2008-2010)
- Yukon / Yukon XL 1500 (2010)
Frequently Asked Questions
Do I really need to provide my VIN?
Yes, absolutely. Providing your VIN is the only way we can program the GM Body Control Module with the correct software and vehicle-specific options. This step is what makes the installation process so much smoother and prevents compatibility issues.
Is this a plug-and-play part?
It’s as close as you can get. The main programming is done for you before shipping. However, as mentioned above, security, airbag, and brake sensor relearn procedures are often required after installation using a professional scan tool to ensure all systems function correctly.
Will this fix my ‘Service Theft System’ message?
A faulty BCM is a very common cause of issues with the vehicle anti-theft system. While we can’t guarantee it will solve your specific problem without a proper diagnosis, it is a very likely solution if you’re also experiencing other electrical symptoms.
What tools do I need for the installation?
Basic hand tools like a socket set and screwdrivers are usually sufficient for the physical replacement. A plastic trim removal tool is highly recommended to avoid damaging your dashboard. For the post-installation procedures, a high-level bidirectional scan tool is required.
My old part number isn’t on the list, but my vehicle is. Will it fit?
GM often uses many different part numbers for the same component. The list provided covers the most common interchanges. If your vehicle model and year are listed, this module will function correctly once programmed to your VIN, even if your original part number differs.