
Restore Your Yukon’s Electrical System with Confidence
Are you dealing with frustrating and unpredictable electrical issues in your GMC Yukon? Flickering dashboard lights, power windows that won’t cooperate, door locks with a mind of their own, or a security system that triggers for no reason? These are classic signs of a failing Body Control Module (BCM). Don’t let these electrical gremlins compromise your vehicle’s safety and convenience. This is the direct, reliable solution to restore your truck’s sophisticated electronics to perfect factory operation.
Common Symptoms & Your Solution
A faulty BCM can cause a wide range of confusing problems. If you’re experiencing any of the following, this pre-programmed module is the definitive fix:
- Intermittent or non-working power windows, door locks, and interior lights.
- Erratic instrument cluster behavior or warning lights that stay on.
- Problems with the radio, climate control, or other accessories.
- Security system faults or the vehicle failing to start.
- Communication error codes (U-codes) stored in the system.
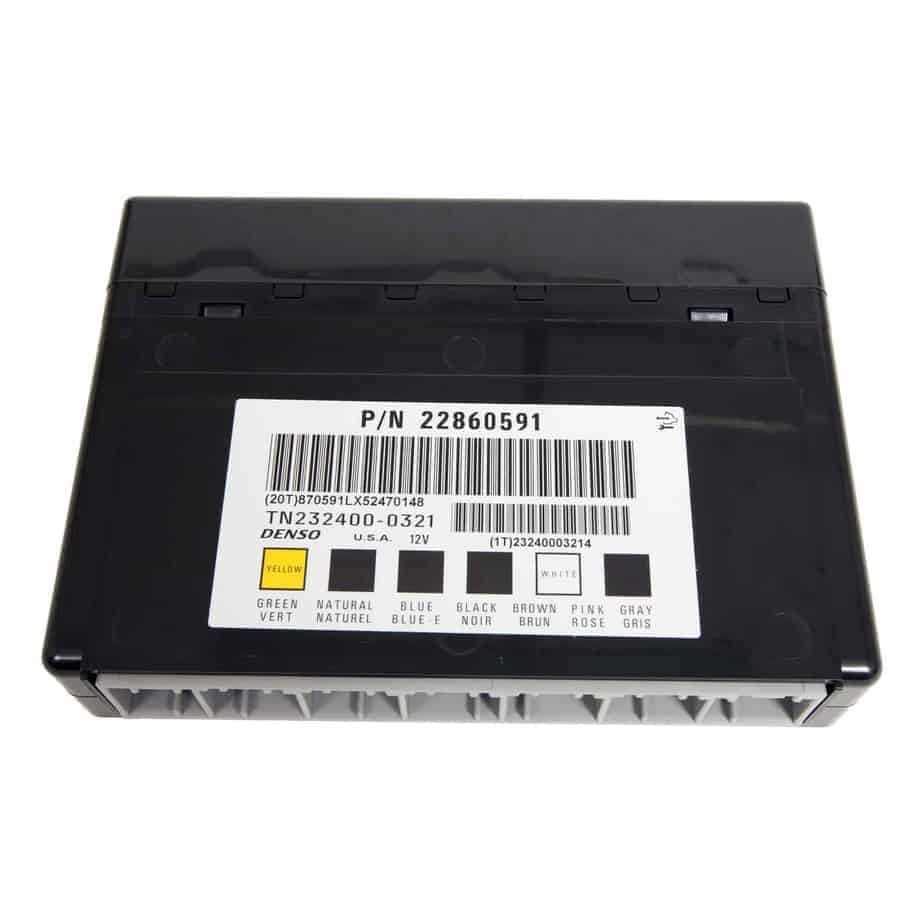
This isn’t just a replacement part; it’s a complete, ready-to-install solution. We take the guesswork out of the repair by programming this 2010 GMC Yukon XL 1500 Body Control Module specifically to your vehicle’s VIN before it ships. This ensures seamless integration and avoids costly programming fees at the dealership.
Features & Benefits
- ✔ VIN-Programmed for Your Vehicle: Simply provide your VIN during checkout, and we’ll flash the module with the newest, most stable GM software for your specific Yukon XL. This makes installation straightforward.
- ✔ Restores Full Functionality: Get your power accessories, lighting, and security systems working exactly as they should, restoring the comfort and convenience you expect.
- ✔ No Core Charge: Unlike many suppliers, we don’t require you to send back your old, faulty module. This saves you time, hassle, and the cost of a core deposit.
- ✔ Broad Compatibility: This module replaces a wide range of original part numbers, including 10382479, 15892622, 20815898, 22860591, and many more, ensuring a perfect match.
- ✔ Peace of Mind Included: This unit is backed by our one-year replacement warranty.
Expert Insight: The Brain of Your Vehicle’s Comfort
Think of the BCM as the central nervous system for your vehicle’s body electronics. It doesn’t control the engine, but it manages almost everything you interact with inside the cabin. When it fails, the signals get crossed, leading to the chaotic symptoms you’re seeing. By providing a professionally programmed 2010 GMC Yukon XL 1500 Body Control Module, we eliminate the most difficult part of the repair. You get a component that’s ready to communicate with your Yukon’s other systems correctly from the moment of installation, saving you a trip to the dealer and hundreds in programming and diagnostic fees.
Installation & Post-Install Notes
While this module is designed for a direct fit, please be aware of potential post-installation steps. Depending on your vehicle’s specific configuration, a ‘Setup SDM Primary Key in BCM’ procedure may be needed if the airbag light is on. Additionally, a ‘Brake Pedal Position Relearn’ might be required. These procedures necessitate a professional-grade bidirectional scan tool. We always recommend consulting a factory service manual or a qualified technician to ensure a smooth and complete repair of your 2010 GMC Yukon XL 1500 Body Control Module.
Frequently Asked Questions
What is a Body Control Module (BCM)?
The BCM is a computer in your vehicle that controls and monitors a wide variety of electronic accessories not related to the engine. This includes power windows, locks, lights, wipers, security systems, and more. It’s essential for the proper operation of your vehicle’s comfort and convenience features.
Why do I need to provide my VIN?
Your vehicle’s Vehicle Identification Number (VIN) contains specific information about its factory-installed options. We use your VIN to load the exact, correct software and calibrations from GM onto the BCM. This ensures the module works perfectly with your specific vehicle, preventing compatibility issues.
Is this a difficult part to install?
The physical replacement of the BCM is typically straightforward for someone with moderate mechanical skill. It’s often located under the dashboard. However, the critical part is the programming, which we handle for you. Some vehicles may require additional electronic ‘relearn’ procedures with a scan tool after installation, as noted in our description.
Will this fix my check engine light?
Generally, no. The BCM does not control engine functions. The check engine light is managed by the Engine Control Module (ECM) or Powertrain Control Module (PCM). A faulty BCM typically causes issues with body electronics and may trigger warning lights like the airbag or security indicators.
What happens if I don’t program the BCM?
An unprogrammed BCM from a junkyard or other supplier will not work correctly. It will have the incorrect software for your vehicle’s options, which can lead to features not working, false warning lights, and even a no-start condition. Our pre-programming service is essential for a successful repair.
Is there a core charge for my old part?
No. We do not require you to return your original module. There is no core charge or deposit associated with this purchase, simplifying the process for you.