
End Your Van’s Electrical Headaches
Are strange electrical issues plaguing your GMC Savana? Flickering lights, malfunctioning power windows, a security system that has a mind of its own, or random warning lights on the dash? These are classic signs of a failing Body Control Module (BCM), the central nervous system of your van’s electronics. A faulty BCM can make your work vehicle unreliable and frustrating to operate. This pre-programmed BCM is the definitive, hassle-free solution to restore full functionality and get your reliable workhorse back on the road.
Common Symptoms & Your Direct-Fit Solution
If you’re experiencing issues like power locks not working, interior lights staying on, incorrect gauge readings, or even a no-start condition due to a security system fault, your BCM is the likely culprit. Instead of paying for expensive diagnostic time and dealership programming fees, this module offers a direct path to a solution. We use your vehicle’s VIN to flash this GMC Savana 1500 BCM with the latest factory software, ensuring it communicates perfectly with your van’s other systems right out of the box.
Features & Benefits
- ✔ VIN-Programmed for Your Van: We flash the module with the latest GM software using your vehicle’s specific VIN. This ensures compatibility and dramatically simplifies installation, saving you a trip to the dealership.
- ✔ Restores Full Electronic Control: Regain reliable operation of your power windows, door locks, interior/exterior lights, security system, and more.
- ✔ No Core Charge Required: Save time and money. You don’t need to go through the hassle of sending your old, faulty module back to us.
- ✔ Solves Intermittent Gremlins: A new, properly programmed GMC Savana 1500 BCM is the key to fixing those frustrating electrical problems that come and go without warning.
- ✔ One-Year Replacement Warranty: This unit is backed by our one-year replacement warranty, giving you confidence and peace of mind in your repair.
A Technician’s Perspective
As a technician, I’ve seen countless hours and dollars wasted chasing electrical gremlins. A mechanic might replace a window motor or a light switch, only to find the problem persists. Why? Because the BCM is the command center. When it fails, it sends faulty signals. Replacing the BCM isn’t just swapping a part; it’s restoring the brain of the system, fixing the root cause of those frustrating, intermittent issues and preventing future misdiagnoses. Getting a pre-programmed GMC Savana 1500 BCM is the smartest way to get the job done right the first time.
Important Post-Installation Procedures
While this module is programmed for your vehicle, some models may require one or more of the following procedures to be performed with a professional scan tool after installation:
- Airbag System Sync: If the airbag warning light is illuminated after installation, the ‘Setup SDM Primary Key in BCM’ procedure is necessary to sync the systems and turn off the light.
- Brake Pedal Position Relearn: A recalibration of the brake pedal position sensor may be required to ensure proper brake light function and traction control system performance.
Disclaimer: Specific procedures can vary by vehicle. Always consult a factory service manual or a qualified technician for guidance.
Verified Vehicle Fitment
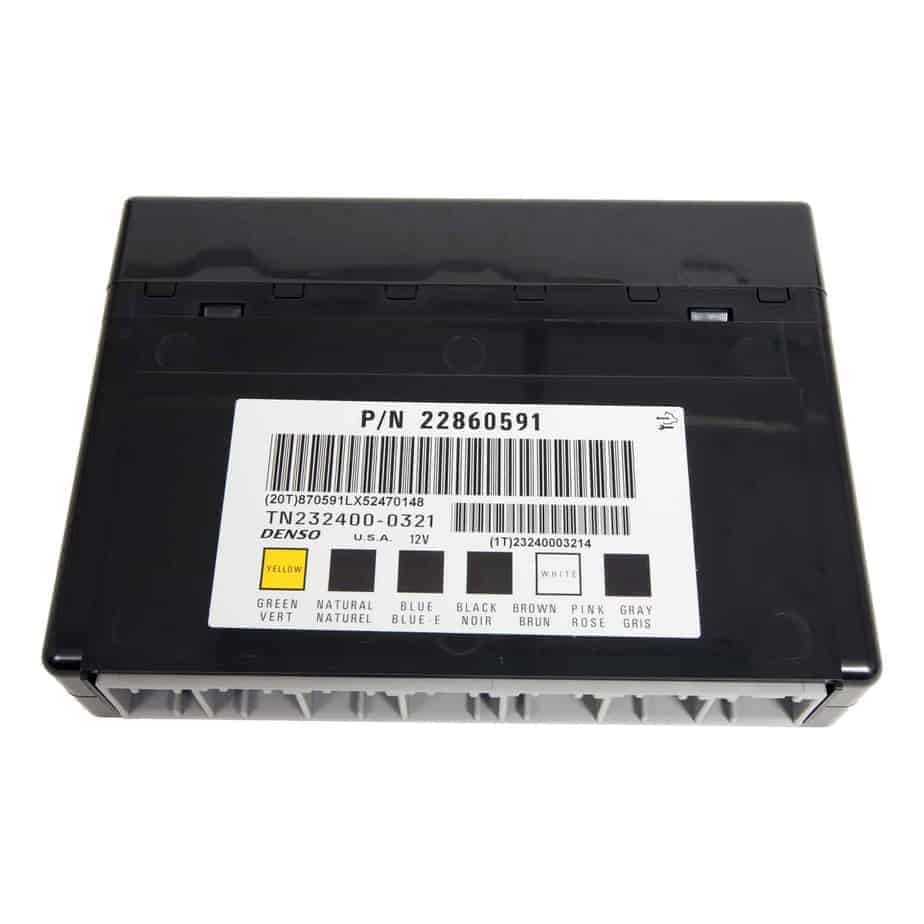
This module is a direct replacement for part number 25910474 and many others. It fits a wide range of GM vehicles. Please provide your VIN upon purchase to guarantee correct programming for your specific model, including:
- 2008-2012 SAVANA 1500 VAN
- 2008-2012 EXPRESS 1500 VAN
- 2008-2012 EXPRESS 2500 VAN
- 2008-2012 SAVANA 2500 VAN
- 2008-2012 EXPRESS 3500 VAN
- 2008-2012 SAVANA 3500 VAN
- 2007-2012 ACADIA
- 2009-2012 TRAVERSE
- 2008-2012 ENCLAVE
- 2006-2013 IMPALA
- …and many other models listed in the detailed fitment chart.
Frequently Asked Questions
Do I absolutely need to provide my VIN?
Yes. Providing your Vehicle Identification Number (VIN) is mandatory. We cannot ship your order without it. This step is crucial as we use the VIN to load the correct, vehicle-specific software and updates onto the BCM, ensuring it works properly with your van.
Is this BCM difficult to install?
The physical installation is typically straightforward for someone with moderate mechanical skill. It usually involves disconnecting the battery, removing a few dash panels, and unplugging the electrical connectors. The most critical part is the programming, which we handle for you before shipping.
Will this fix my specific electrical problem?
This BCM will correct any issues directly caused by a faulty Body Control Module. While the symptoms listed are very common for BCM failure, we always recommend a proper diagnosis by a qualified technician to confirm the BCM is the source of the problem before ordering.
What does ‘no core charge’ mean?
It means you do not have to return your old, broken BCM to us. This saves you the cost and hassle of packaging and shipping the old part back, making the process simpler and more affordable.
What tools are needed for the post-installation procedures?
The Airbag Sync and Brake Pedal Relearn procedures require a professional-grade bidirectional diagnostic scan tool, such as a GM Tech 2, Snap-on, Autel, or similar device. These are not procedures that can be done with a basic code reader.
How do I find the part number on my original BCM?
The part number is printed on a sticker on the case of the original module. However, since this part replaces dozens of different numbers, the most reliable way to ensure compatibility is by providing us with your VIN during checkout.