
Tired of Chasing Electrical Gremlins in Your GM?
As a technician with over two decades of diagnostic experience, I’ve seen it all. Flickering lights, power windows with a mind of their own, a radio that won’t turn off, or a security light that keeps you from starting your vehicle. These aren’t just annoyances; they’re classic signs of a failing Body Control Module (BCM). The BCM is the central nervous system for your vehicle’s body electronics, and when it starts to go, it can cause a cascade of baffling issues. Don’t replace part after part hoping for a fix. This is your direct, reliable solution.
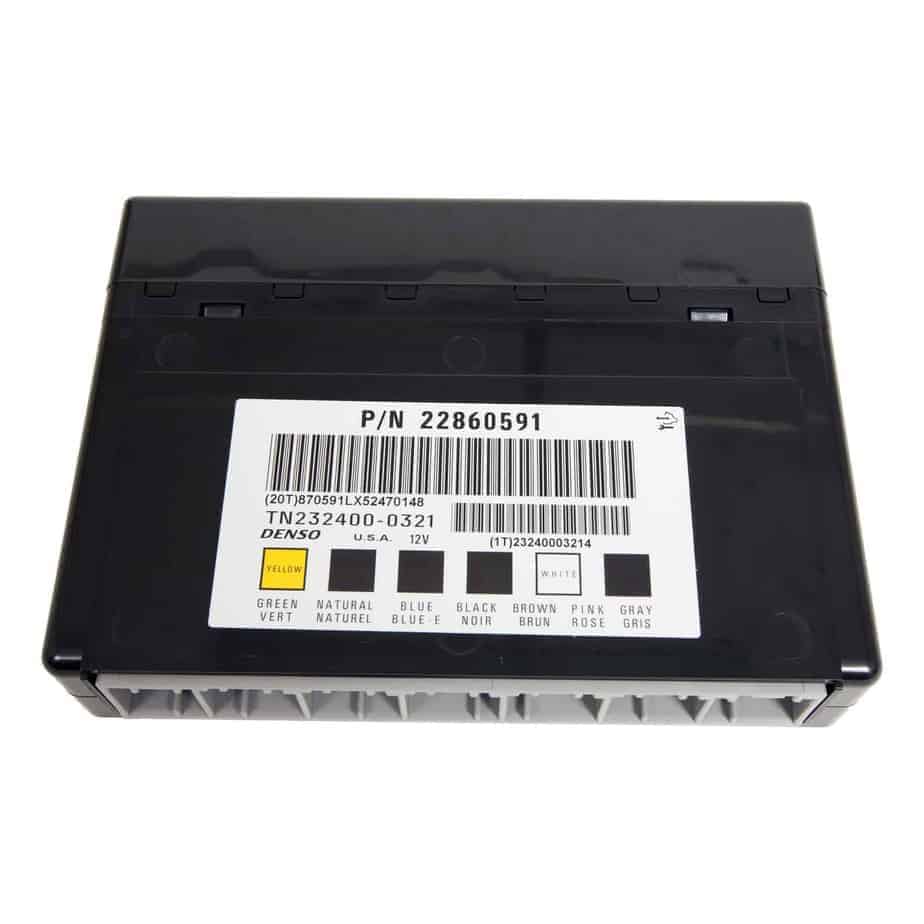
We take the biggest headache out of the repair process: programming. Dealerships charge a premium for this service, and most local shops don’t have the specific equipment. We eliminate that step entirely. Simply provide your vehicle’s VIN at checkout, and we will flash this module with the latest GM software specific to your car or truck. It arrives at your door ready for installation, making this a job you can confidently tackle in your own garage. This isn’t just a part; it’s a complete, hassle-free fix.
Is Your Vehicle Showing These Classic BCM Failure Signs?
A faulty BCM can manifest in numerous ways. If you’re experiencing any of the following, a failing BCM is the likely culprit:
- ✔ Intermittent or non-working power windows, door locks, or interior lights.
- ✔ Horn honking unexpectedly or not working at all.
- ✔ Security or anti-theft system lights on, potentially causing a no-start condition.
- ✔ Erratic instrument cluster behavior, with gauges dropping out or warning lights appearing randomly.
- ✔ Communication error codes, often in the U-series (e.g., U0140, U0155), indicating a loss of communication with the BCM.
- ✔ Wipers or radio staying on even after the key is removed.
A Technician’s Notebook: The Express Van with a Mind of its Own
A local contractor brought his 2011 Express 2500 van into the shop, completely frustrated. The battery was draining overnight, the dome lights would flicker randomly while driving, and the power locks only worked half the time. He’d already replaced the battery and checked all the fuses. A quick scan showed a handful of communication codes pointing to the BCM. These modules in the Express/Savana vans are notorious for internal circuit board failures, often due to heat and vibration from their location in the center dash. Instead of a complex, multi-day diagnostic, we confirmed the BCM was the issue. By installing a pre-programmed module just like this one, we had him back on the road and back to work the same afternoon, saving him significant downtime and diagnostic fees. This is the exact fix for that kind of problem.
Your Straightforward BCM Installation Guide
Replacing the BCM is a manageable job for a DIY enthusiast. While the exact location varies by model (see fitment list), the general process is similar.
- Safety First: Always disconnect the negative terminal from your vehicle’s battery and wait a few minutes to allow the systems to discharge completely.
- Locate the BCM: On most listed vehicles, it’s found under the driver’s side dash, near the steering column, or behind a panel in the center dash console.
- Remove Trim Panels: Carefully remove any plastic trim or panels necessary to access the module. Use a trim removal tool to avoid scratching or breaking clips.
- Disconnect and Remove: Unplug the electrical connectors from the old BCM. They have locking tabs that need to be depressed. Once disconnected, unbolt or unclip the module from its mounting bracket.
- Install the New BCM: Mount your new, pre-programmed BCM in the same location and reconnect all electrical connectors. Ensure they click securely into place.
- Post-Installation Procedures: Reconnect the battery. You will need to perform the critical recalibration steps outlined below.
Critical Post-Installation Steps: Do Not Skip!
After installing your new Programmed GM Body Control Module, a few final steps are essential for safety and full functionality. These procedures sync the new BCM with other critical systems in your vehicle.
- Airbag System Reset: The airbag warning light will likely be on. You must perform the ‘Setup SDM Primary Key in BCM’ procedure using a bi-directional scan tool. This re-establishes the security handshake between the BCM and the Sensing and Diagnostic Module (airbag computer).
- Brake Pedal Position Sensor Relearn: Some vehicles, especially trucks and SUVs, may require a ‘Brake Pedal Position Sensor Calibration’. This ensures the brake lights and stability control system function correctly with the new BCM.
- Note: If you are not equipped with a professional-grade scan tool capable of these functions, a qualified independent mechanic can perform these relearn procedures for you.
Verified Fitment For A Wide Range of GM Vehicles
This module is a direct replacement for numerous part numbers and fits a vast array of General Motors cars, trucks, and SUVs. Please verify your vehicle is on this list. Note that some models require matching the ID number from your original BCM.
EXPRESS/SAVANA VANS 08-12 (center dash)
IMPALA 06-13 (LH dash)
ACADIA 07-12 (LH dash)
MONTE CARLO 06-07 (LH steering column)
TAHOE/YUKON/SUBURBAN/AVALANCHE/ESCALADE 2010 (under steering column, check ID)
TRAVERSE 09-12 (LH dash)
CAPTIVA SPORT 12 (center dash, check ID)
DTS 06-11 (RH center dash)
OUTLOOK 07-10 (center dash)
STS 10 (center dash)
TORRENT 07-09 (center dash)
CTS 08-13 (LH or RH dash, check year)
G8 08-09 (center dash)
LUCERNE 06-11 (right side dash)
SRX 07-09 (LH dash)
HUMMER H2 08-09 (LH firewall)
VUE 08-10 (center dash)
CAPRICE 11-13
ENCLAVE 08-12 (LH dash)
Replaces Part Numbers: 10382479, 15093910, 15276271, 15299986, 15819552, 15828601, 15837419, 15872388, 15872421, and many more.
Frequently Asked Questions
Do I really need to provide my VIN?
Yes, absolutely. The VIN is critical for us to load the correct GM software and vehicle-specific options into your Programmed GM Body Control Module. This ensures it works correctly with your engine, transmission, and other features right out of the box.
Is this a simple plug-and-play installation?
The physical installation is plug-and-play. However, as noted above, post-installation electronic procedures like the airbag system reset and brake pedal relearn are required with a proper scan tool to ensure all systems function correctly and safely.
Will this fix my ‘Service Theft System’ message?
In many cases, yes. The BCM is a core component of the Passlock/Passkey anti-theft system. A failing BCM is a very common cause of this warning message and related no-start issues.
What tools are required for the post-installation procedures?
You will need a professional-grade, bi-directional scan tool. Basic code readers cannot perform the necessary ‘Setup SDM Primary Key’ or ‘Brake Pedal Position Sensor Calibration’ functions. If you don’t own one, any reputable repair shop can perform these steps for you after you’ve installed the part.
My original part number isn’t 15299986, but it’s on the list. Will this work?
Yes. GM frequently updates and supersedes part numbers. The extensive list provided includes all compatible previous and alternative part numbers that this module directly replaces. As long as your part number is on our list, this module is the correct replacement.