

Restore Safe Towing with a Plug-and-Play Solution
Seeing the ‘SERVICE TRAILER BRAKE SYSTEM’ message on your dash is more than an annoyance—it’s a critical safety alert. When you’re hauling a heavy load, you depend on your trailer’s brakes to work in perfect sync with your truck. A failing Trailer Brake Control Module (TBCM) compromises that link, putting you, your cargo, and others on the road at risk. This isn’t a problem to ignore. In my 20+ years as a technician, I’ve seen these modules fail from exposure to road salt, moisture, and simple electronic fatigue, leading to unpredictable or completely absent trailer braking.
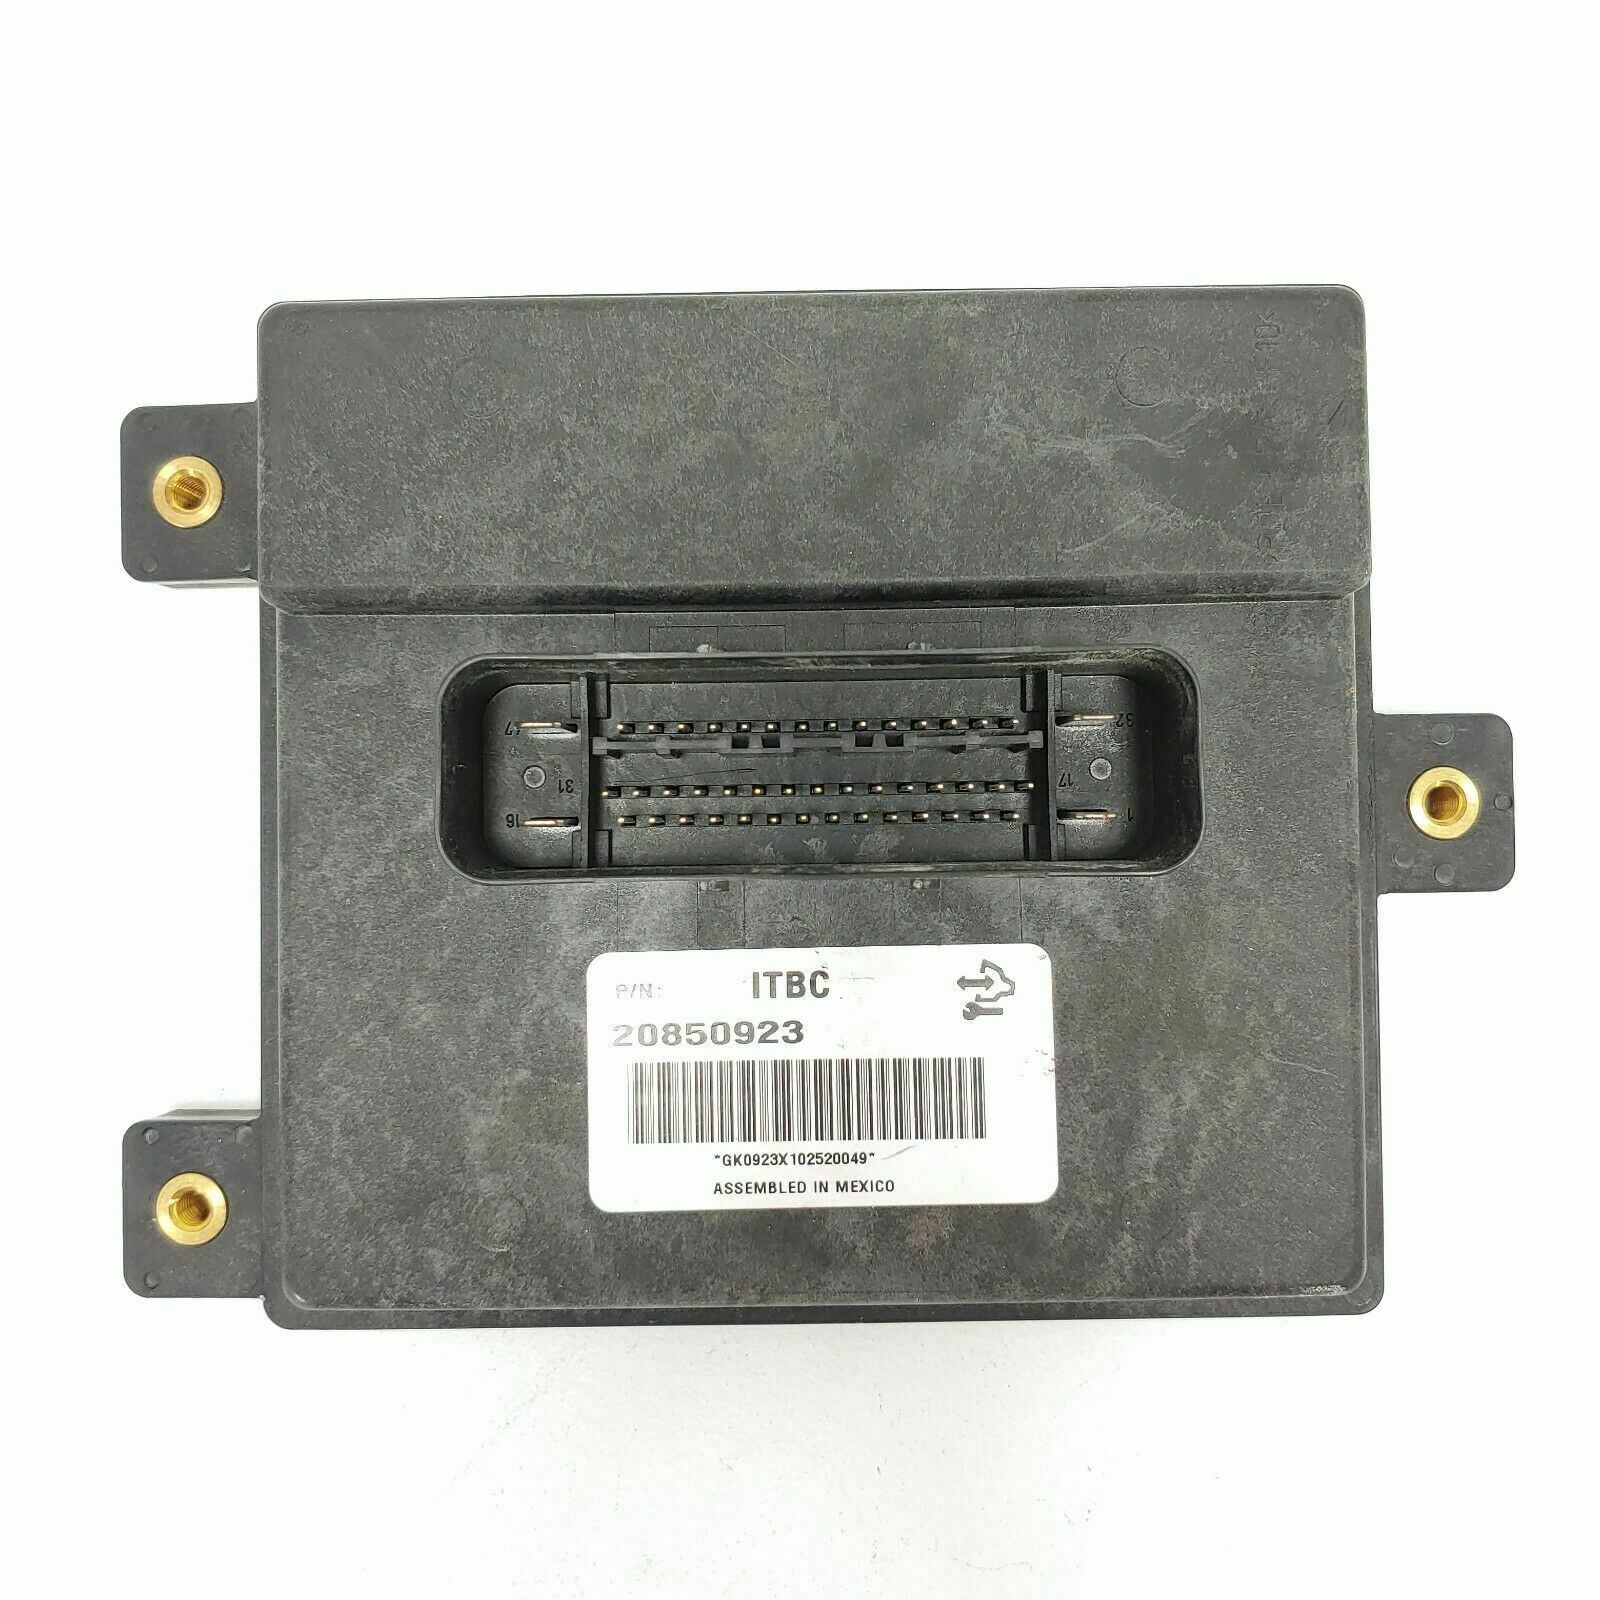
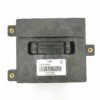
We offer a definitive, hassle-free fix. This genuine GM Trailer Brake Control Module is not just a replacement part; it’s a complete solution. Before we ship it, our experts program the module with the very latest GM software updates, specifically matched to your truck using its Vehicle Identification Number (VIN). This means you get a part that is 100% ready for installation right out of the box. You bypass the expensive and time-consuming trip to a dealership for programming, saving you hundreds of dollars and getting your truck back to full capability faster. This is the exact fix I’d perform in my own service bay for a reliable, long-term repair.
Is Your Truck Showing These Warning Signs?
A faulty TBCM can manifest in several ways. If you’re experiencing any of the following, it’s a strong indicator that your module needs replacement. Ignoring these symptoms can lead to unsafe towing conditions.
- ✔ The persistent “Service Trailer Brake System” message on your Driver Information Center (DIC).
- ✔ No power output to the trailer’s brakes, confirmed with a test light at the 7-pin connector.
- ✔ The trailer brakes apply erratically or not at all when you press the brake pedal or use the manual override.
- ✔ Diagnostic Trouble Codes (DTCs) stored in the system, such as C0293 or U-series communication codes related to the TBCM.
- ✔ The gain setting on your dash control seems to have no effect on braking force.
A Technician’s Notebook
I remember a customer with a 2008 Sierra 2500 who was at his wit’s end. He towed a fifth-wheel camper and his trailer brakes were dangerously intermittent. Sometimes they’d work fine, other times they wouldn’t engage at all. He’d already replaced the 7-pin connector and checked all the trailer-side wiring. When he brought it to the shop, a scan showed no hard codes, just a history of lost communication with the TBCM. These intermittent electrical gremlins are often the toughest to solve. We hooked up a test trailer and monitored the data stream from the 2007-2009 Silverado 3500 TBCM. Sure enough, we saw the module’s output voltage drop to zero randomly. The module, located on the frame rail, had suffered internal corrosion from years of exposure. We swapped in one of our pre-programmed modules, and the problem was solved in under 30 minutes. He left confident that his truck was finally safe for his next family trip.
A Straightforward Guide to Installation
Replacing your 2007-2009 Silverado 3500 TBCM is a job most DIYers or any professional mechanic can handle with basic tools. Since we program it for you, there are no special electronic tools needed.
- Safety First: Disconnect the negative terminal from your truck’s battery to prevent any electrical shorts.
- Locate the Module: The TBCM is mounted to the frame rail on the driver’s side (LH), typically just in front of the rear axle and near the spare tire.
- Disconnect Electrical Connectors: Carefully press the release tabs on the two electrical connectors and pull them straight out from the module. Inspect the connectors for any corrosion or damage.
- Remove the Old Module: The module is held to the frame by two bolts (usually 10mm or 13mm). Use a socket and ratchet to remove them, and the old module will come free.
- Install the New Module: Position your new, pre-programmed TBCM and secure it to the frame using the original bolts. Do not overtighten.
- Reconnect and Test: Firmly plug in the two electrical connectors until they click into place. Reconnect your battery terminal. Start the truck and verify that the “Service Trailer Brake System” message is gone. If possible, connect a trailer to confirm proper operation.
Verified Vehicle Compatibility
This module is a direct-fit replacement for a wide range of GM trucks. We guarantee compatibility for the following vehicles, provided they are equipped with the factory towing package. This part replaces part numbers 20850923, 25854535, 25788981, and 25907533.
- 2007-2009 Chevrolet Silverado 2500 & 3500 Pickup (Towing Control; LH rear frame)
- 2008-2009 Chevrolet Silverado 1500 Pickup (Towing Control; LH rear frame)
- 2007-2009 GMC Sierra 2500 & 3500 Pickup (Towing Control; LH rear frame)
- 2008-2009 GMC Sierra 1500 Pickup (Towing Control; LH rear frame)
- 2008-2009 GMC Sierra Denali (Towing Control; LH rear frame)
Frequently Asked Questions
Frequently Asked Questions
What does a Trailer Brake Control Module (TBCM) do?
The TBCM is a small computer that interprets braking signals from your truck and sends a proportional amount of power to your trailer’s electric brakes. This ensures smooth, synchronized braking when you’re towing.
Do I need to take this part to a dealer for programming?
No. The main benefit of our service is that we program the module to your truck’s specific VIN before we ship it. This makes it a true plug-and-play part, saving you the time and expense of a dealership visit.
How do I provide my VIN?
After you complete your purchase, simply send us a message with your 17-digit Vehicle Identification Number (VIN). We cannot ship your part until we receive this information for programming.
Will this fix the ‘Service Trailer Brake System’ message?
In the vast majority of cases, yes. This message is the most common symptom of a failed TBCM. Replacing the faulty module with this pre-programmed unit is the standard, reliable repair.
Is this a difficult part to install myself?
Not at all. If you are comfortable working under your truck and have basic hand tools like a socket set, you can typically complete the installation in under an hour. Our step-by-step guide above walks you through the process.