Is Your GM Truck or Van Acting Up?
If you’re dealing with a frustrating no-start condition, erratic shifting, a persistent check engine light, or poor fuel economy in your late-90s GM vehicle, a failing Powertrain Control Module (PCM) is often the culprit. Over two decades, I’ve seen countless of these ‘black box’ ECUs fail due to heat cycles and vibration, causing communication errors that leave drivers stranded and mechanics scratching their heads. Don’t replace parts randomly—get the brain of your vehicle’s operation back in perfect order.
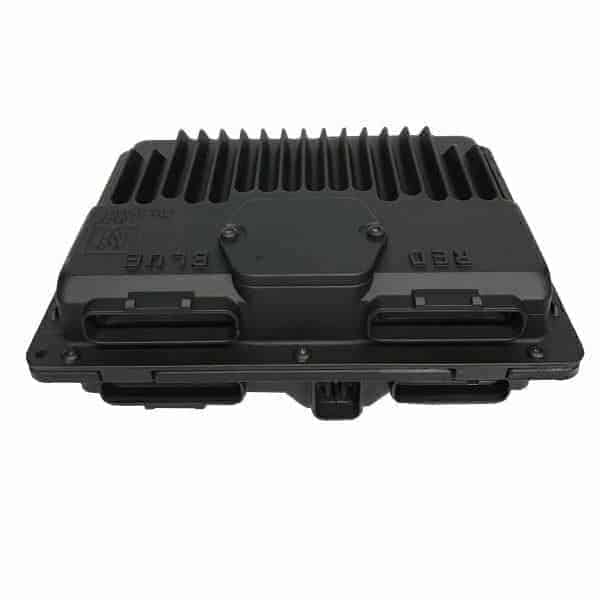
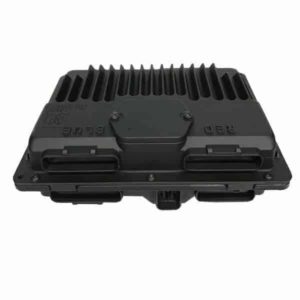
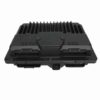
The Direct Solution: A VIN-Programmed PCM
This isn’t just a used part; it’s a complete, ready-to-install solution. We take a reliable, OEM computer sourced from a salvaged vehicle and flash it with the latest official GM software updates. By providing your Vehicle Identification Number (VIN) at checkout, you receive a module that is precisely matched to your vehicle’s specific configuration. This process ensures all systems, from the engine and transmission to the anti-theft system, communicate correctly right out of the box.
Common Symptoms of a Failing GM PCM:
- ✔ No-start or intermittent starting problems
- ✔ Harsh, erratic, or delayed transmission shifting
- ✔ Check Engine Light (CEL) with communication codes (e.g., U-codes)
- ✔ Stalling, rough idling, or poor engine performance
- ✔ Inaccurate or non-functioning dashboard gauges
- ✔ Decreased fuel mileage
Expert Pro Tip: Check Your Grounds First!
Before you condemn your old PCM, do this simple check. On many of these GM Vortec engines, a critical ground wire for the PCM is located on a thermostat housing stud. Over time, this connection corrodes, causing high resistance and a host of bizarre electrical issues that mimic a bad PCM. I’ve seen this dozens of times in my shop. Take a moment to remove the nut, clean the terminal and the stud with a wire brush until they are shiny, and re-secure it tightly. It might just save you the repair.
Simple Installation for Your 1998-1999 Express 1500 PCM
You can do this yourself in your driveway. No special tools or dealer visits are required for programming. Just follow these simple steps to get your vehicle running right again.
- Safety First: Disconnect the negative terminal from your vehicle’s battery.
- Locate the PCM: On most of these trucks and vans, the PCM is located in the engine compartment, typically on the driver’s side fender well or near the battery.
- Disconnect the Connectors: Carefully unclip and remove the large electrical harness connectors from the old module. Inspect the pins for any corrosion or damage.
- Swap the Modules: Unbolt the old PCM from its bracket and install the new, programmed module in its place.
- Reconnect Everything: Securely plug the harness connectors into the new PCM until they click. Reconnect your battery terminal.
- Security Relearn (If Needed): In most cases, the vehicle will start right up. Some models may require a simple security relearn procedure, which typically involves turning the key to the ‘ON’ position for 10-15 minutes.
Guaranteed Compatibility & Fitment
This module is a direct replacement for several part numbers, ensuring wide compatibility across the GM family. Please verify your original part number matches one of the following:
Interchangeable Part Numbers: 09355699, 16266645, 16250279, 16258815, 09366810
This unit is confirmed to fit a vast range of 1998-1999 GM vehicles including Chevrolet & GMC full-size trucks (1500, 2500, 3500), SUVs (Tahoe, Yukon, Suburban, Escalade, Blazer, Jimmy), and Vans (Express, Savana, Astro, Safari), among others. Please refer to the detailed fitment list to confirm your specific model.