Is Your GM Stalling, Shifting Erratically, or Showing a Persistent Check Engine Light?
If you’re driving a 1997 GM vehicle like a Bonneville, Grand Prix, or LeSabre, you know it’s a workhorse. But when the Powertrain Control Module (PCM) starts to fail, it can feel like the car has a mind of its own. You might be experiencing frustrating issues like harsh shifting, a no-start condition that comes and goes, terrible fuel mileage, or diagnostic codes that won’t clear. This isn’t just an annoyance; it’s a critical failure that compromises your vehicle’s reliability and performance. The PCM is the brain of your engine and transmission, and when it falters, everything it controls suffers.
A Technician’s Real-World Experience
“A customer’s ’97 Regal came into my shop last month with a persistent P0304 code (Cylinder 4 Misfire). The owner had already replaced the spark plug, wire, and even the fuel injector, but the misfire wouldn’t go away. After scoping the injector pulse, I saw the signal was weak and erratic. The problem wasn’t the injector itself, but the driver circuit inside the original PCM that controlled it. This is a classic failure I’ve seen hundreds of times on these 3.8L V6 engines. We installed one of our pre-programmed modules, and the car ran perfectly immediately. It’s a textbook example of how a failing PCM can mimic other component failures, costing you time and money on unnecessary parts.”
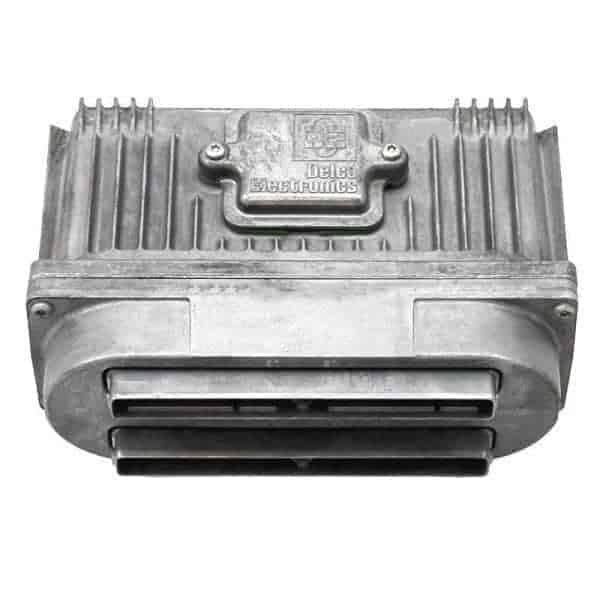
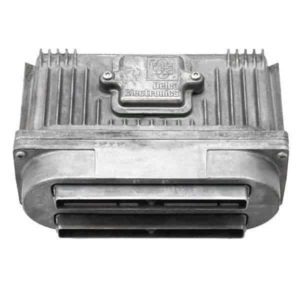
The Direct-Fit Solution: A Programmed 1997 Bonneville PCM
This isn’t just a replacement part; it’s a complete, ready-to-install solution. We take a quality-tested Powertrain Control Module (interchangeable with part numbers 16217058 and 16218070) and flash it with the latest official GM software calibration specifically for your vehicle. All we need is your Vehicle Identification Number (VIN) at checkout. This crucial step ensures the module communicates perfectly with your car’s engine, transmission, and security system, restoring its original performance and efficiency.
Key Benefits of This VIN-Programmed Module:
- ✔ Eliminate Guesswork: Solves common PCM-related issues like stalling, no-start conditions, poor fuel economy, and erratic transmission behavior.
- ✔ Plug-and-Play Installation: Because it’s programmed to your VIN before it ships, there is no need for an expensive trip to the dealership for flashing.
- ✔ Latest GM Software: Your module arrives with the most current GM updates, which often correct factory bugs and improve performance and longevity.
- ✔ Guaranteed Compatibility: By matching the software to your VIN, we ensure a perfect electronic handshake with your vehicle’s systems.
Guaranteed Fitment for Your 1997 GM Vehicle
This module is the correct replacement for a wide range of 1997 General Motors cars and vans. Please verify your vehicle and engine options below to ensure a perfect match. This unit replaces part numbers 16217058 and 16218070.
- Bonneville: with 3.8L V6 (non-supercharged)
- LeSabre: with 3.8L V6
- Regal: with 3.8L V6 (non-supercharged)
- Eighty Eight: with 3.8L V6 (non-supercharged)
- Grand Prix: with 3.1L V6 or 3.8L V6 (non-supercharged)
- Lumina Car / Monte Carlo: with 3.1L V6
- Century / Skylark / Achieva / Grand Am: with 3.1L V6
- Cutlass: Supreme models
- Venture / Trans Sport / Silhouette: with 3.4L V6
Simple Installation Guide: Get Back on the Road Fast
Installing your new PCM is a straightforward job you can do in your own driveway. No specialized tools are required.
- Safety First: Disconnect the negative terminal from your car’s battery and secure it away from the post.
- Locate the PCM: On most of these models, the PCM is located in the engine bay, inside the air filter housing. You will typically need to remove the air filter cover to access it.
- Disconnect Connectors: Carefully unclip and remove the electrical connectors from the old PCM. Inspect the pins for any corrosion or damage.
- Remove the Old Module: Unbolt the PCM from its mounting bracket and remove it from the vehicle.
- Install the New PCM: Mount your new, pre-programmed module in place. Reconnect the electrical connectors, ensuring they click securely into place.
- Final Steps: Reinstall the air filter housing cover and reconnect the negative battery terminal. The vehicle is now ready to start.