

Is Your 1996 GM Vehicle Running Rough?
If you’re dealing with a frustrating no-start condition, a persistent check engine light, erratic shifting, or poor fuel economy in your 1996 Chevrolet Beretta, the Powertrain Control Module (PCM) is often the culprit. As a mechanic with over two decades of experience, I’ve seen how a failing engine computer can mimic a dozen other problems, leading to wasted time and money on incorrect repairs. This isn’t just a part; it’s the brain of your vehicle’s engine and transmission, and when it fails, your car’s reliability is gone.
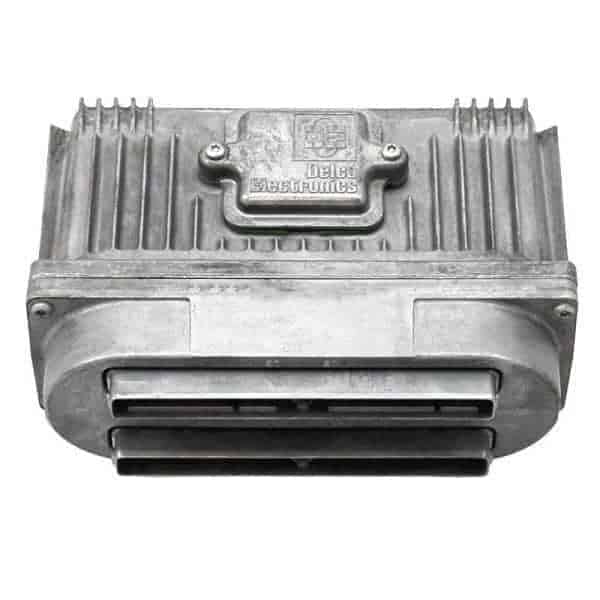
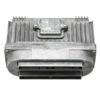
The Direct-Fit Solution: Part Number 16211539
This listing is for a replacement PCM, part number 16211539, that arrives at your door fully programmed and ready for installation. We take your vehicle’s unique VIN and flash the module with the latest, most stable software updates directly from GM. This critical step ensures all factory parameters for your specific engine and transmission are loaded, restoring performance and efficiency. Forget about expensive towing or dealership programming fees; this is the DIY-friendly fix you need.
Expert Pro Tip from the Shop Floor
Before installing your new PCM, take a moment to inspect the electrical harness connectors. Over the years, moisture and dirt can cause corrosion on the pins. I recommend using a quality electronics cleaner and a small nylon brush to gently scrub both the male and female ends of the connectors. A clean, solid connection is crucial for the PCM to communicate correctly with all the vehicle’s sensors. This simple five-minute check prevents a majority of post-installation communication errors I’ve seen in my bay.
Common Symptoms of a Failing 1996 Beretta PCM
A faulty PCM can manifest in various ways. If you’re experiencing any of the following, this module is the likely solution:
- ✔ Unexplained Check Engine Light illumination
- ✔ Vehicle will not start or starts intermittently
- ✔ Rough or unstable idling
- ✔ Poor acceleration and engine performance
- ✔ Noticeable decrease in fuel mileage
- ✔ Harsh or incorrect automatic transmission shifting
Plug-and-Play Installation: No Dealer Visit Required
Installing your VIN-programmed PCM is a straightforward process you can do in your own driveway. Follow these general steps to get your car back on the road:
- Safety First: Disconnect the negative terminal from your vehicle’s battery to prevent any electrical shorts.
- Locate the PCM: On most 1996 GM cars like the Beretta, the PCM is located in the engine bay, often near the firewall or inside the air filter housing.
- Disconnect Connectors: Carefully unclip the electrical wiring harnesses from the old module. There are typically two or three large connectors.
- Remove Old Module: Unbolt the old PCM from its mounting bracket and remove it from the vehicle.
- Install New Module: Bolt the new, programmed PCM into place and securely reconnect the wiring harnesses. You should hear a ‘click’ as they lock in.
- Reconnect Battery: Re-attach the negative battery terminal. The installation is now complete. Your vehicle is ready to start with its new, correctly programmed computer.
Guaranteed Compatibility
This module is a direct replacement for several original equipment service numbers, including 88963800, 16211539, and 16231853. It is guaranteed to fit and function correctly in the following 1996 GM vehicles:
- Chevrolet: Beretta (3.1L), Corsica (3.1L), Lumina Car (3.1L, 3.4L), Lumina Van (3.4L), Monte Carlo
- Pontiac: Bonneville (3.8L), Grand Am (3.1L), Grand Prix, Trans Sport (3.4L)
- Buick: Century (3.1L), LeSabre (3.8L), Park Avenue (3.8L), Regal, Riviera (3.8L), Skylark (3.1L)
- Oldsmobile: Achieva (3.1L), Ciera (3.1L), Cutlass (3.1L, 3.4L), Eighty Eight (3.8L), Ninety Eight (3.8L), Silhouette (3.4L)
To ensure a perfect match, simply provide us with your vehicle’s 17-digit VIN during checkout. We’ll handle the programming, so you can handle the simple installation. Restore your vehicle’s reliability and performance today.