
Fix Persistent Electrical Problems in Your GM Truck or SUV
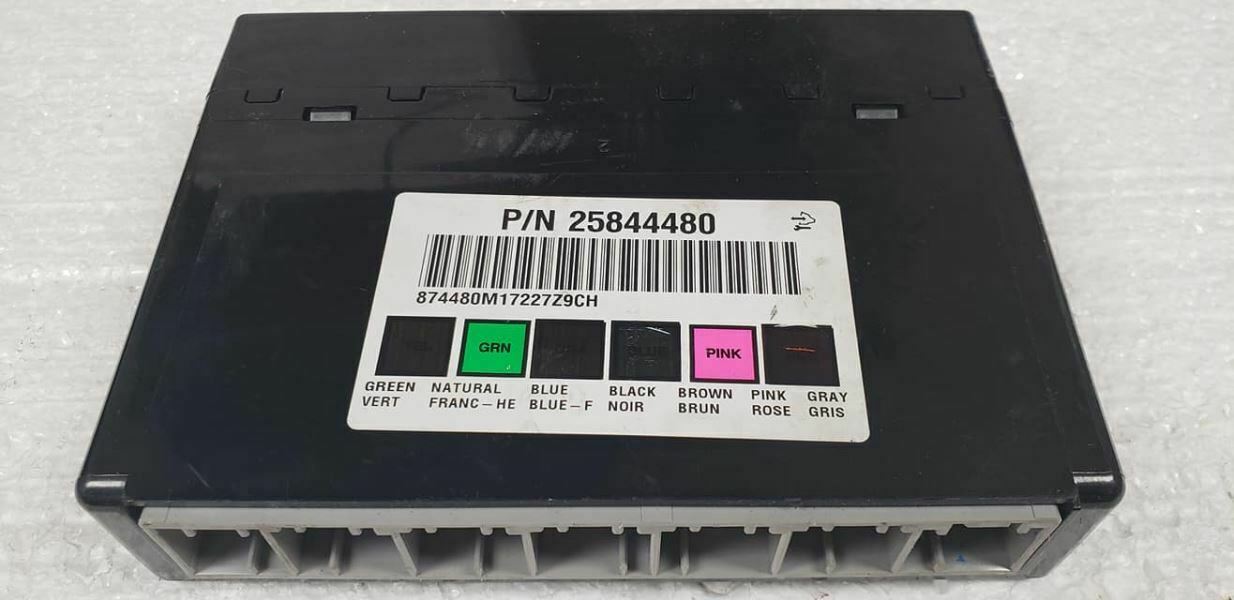
If you’re battling bizarre electrical issues in your GMC Sierra, Chevy Silverado, or Tahoe—like wipers with a mind of their own, intermittent HVAC controls, or a security light that won’t quit—you’ve likely met the common culprit: a failing Body Control Module (BCM). As the central command for your vehicle’s body electronics, when the BCM goes bad, it can create a cascade of frustrating and hard-to-diagnose problems. This OEM-quality replacement, part number 20939138, is the definitive solution to restore order and reliability to your vehicle.
This isn’t just a part; it’s a complete repair solution. We provide a professional Cloning Service with every module. This means we transfer the exact data from your original, faulty BCM to this replacement unit. The result is a true plug-and-play component that retains all your vehicle’s specific settings and security information, eliminating the need for an expensive and time-consuming trip to the dealership for programming. Get your 2013 Sierra 3500 BCM and get back to a truck that works as it should.
A Technician’s Notebook: The Ground-Out That Wasn’t
A 2011 Silverado 2500 came into my bay with a classic case of electrical chaos. The radio would cut out, the power locks worked only half the time, and the driver was getting a random airbag light. The initial thought, as it often is, was a bad ground connection somewhere under the dash—a common issue on these GMT900 platforms. After an hour of checking and cleaning grounds with no improvement, we pulled the codes and saw a slew of communication errors pointing back to the BCM. A failing BCM can perfectly mimic a bad ground. We swapped in a cloned module, and every single issue vanished instantly. It’s a powerful reminder that while you should always check the simple things first, the BCM is the true nerve center, and its failure can look like anything.
Is Your GM Truck Showing These Telltale Signs?
A faulty BCM can manifest in numerous ways. If you’re experiencing any of the following, it’s a strong indicator that your Body Control Module needs attention. This replacement is designed to resolve these exact problems.
- ✔ Unresponsive or erratic HVAC and climate controls.
- ✔ Power windows, door locks, or interior lights not working correctly.
- ✔ The security system acting up, causing no-start or stalling conditions.
- ✔ An illuminated airbag warning light, often with a DTC B1001 (Setup SDM Primary Key in BCM).
- ✔ Headlights, taillights, or turn signals failing or staying on.
- ✔ A dashboard lit up with various unrelated warning lights.
- ✔ Communication loss DTCs (U-codes) stored in multiple modules.
Your Straightforward 5-Minute Installation Guide
Replacing the BCM is one of the easier electronic repairs you can do. It’s typically located under the driver’s side dash, near the steering column. No complex tools are needed.
- Safety First: Always disconnect the negative terminal from your vehicle’s battery before working on electrical components.
- Locate the BCM: On most GM trucks and SUVs, you’ll find it mounted to a bracket under the steering column. You may need to remove a lower dash panel for access.
- Disconnect and Remove: Carefully unplug the electrical connectors. They have locking tabs that need to be depressed. Once disconnected, unclip or unbolt the module from its mounting bracket.
- Install the New Module: Seat the new, cloned BCM into the bracket and securely reconnect all electrical harnesses. You’ll hear a click as they lock into place.
- Reconnect and Test: Reconnect the battery terminal. Start the vehicle and test all functions—lights, locks, windows, wipers, and HVAC—to confirm the repair was successful.
Post-Installation Note: In some cases, particularly if you had an airbag light, a simple relearn procedure may be needed. An advanced scan tool can perform the “Setup SDM Primary Key in BCM” function. A Brake Pedal Position relearn might also be required on certain models. These are simple procedures for any professional shop if you can’t do them yourself.
Verified Fitment for Your Truck or SUV
This module is a direct replacement for a wide range of 2007-2013 General Motors vehicles and interchanges with numerous part numbers, including 25835966, 15943678, 20939137, and 22860591. It is guaranteed to fit the following models, including the 2013 Sierra 3500 BCM you’re looking for:
- Chevrolet Avalanche (2007-2011)
- Chevrolet Silverado 1500/2500/3500 (2007-2013)
- Chevrolet Suburban 1500/2500 (2007-2011)
- Chevrolet Tahoe (2007-2011)
- GMC Sierra 1500/2500/3500 & Denali (2007-2013)
- GMC Yukon & Yukon XL (2007-2011)
- Cadillac Escalade, ESV & EXT (2007-2011)
Please verify your part number or contact us with your VIN to ensure perfect compatibility.
What exactly is a BCM cloning service?
What exactly is a BCM cloning service?
Cloning is a service where we transfer the complete software and vehicle-specific data (like VIN, security info, and optional features) from your original BCM to the replacement unit. This makes the new module a perfect digital copy of the old one, ensuring it works seamlessly with your truck without any additional programming.
Do I need to send my original BCM to you?
Yes. For the cloning service to work, you will need to ship your original module to us. We will perform the data transfer and ship both your original module and the ready-to-install replacement back to you promptly.
Will this fix my airbag light with code B1001?
Yes, a faulty BCM is a common cause of the B1001 code. Replacing it often resolves the issue. However, after installation, you may need to perform the ‘Setup SDM Primary Key in BCM’ procedure with a professional scan tool to sync the airbag system and clear the light.
What happens to my old part? Is there a core charge?
There is absolutely no core charge. We always return your original module to you along with the newly programmed replacement. You can keep it, or dispose of it as you see fit.
Is this a difficult part to install for a DIYer?
Not at all. The BCM is one of the more accessible modules. It’s typically held in by clips or a couple of small bolts under the driver’s side dashboard. With basic hand tools, most DIY mechanics can swap it out in under 15 minutes.