
Restore Your Orlando’s Engine Performance and Reliability
Is your 2012 or 2013 Chevrolet Orlando suffering from perplexing engine issues like stalling, poor fuel economy, a persistent check engine light, or a no-start condition? The Engine Control Module (ECM), the central computer of your vehicle’s powertrain, is often the root cause. This vital component manages everything from fuel mixture and ignition timing to transmission shifting and emissions control. When it fails, it can create a cascade of problems that are frustrating and difficult to diagnose. This replacement ECM is the definitive solution to restore your vehicle’s original performance and efficiency.
From the Diagnostic Bay
We had a 2012 Orlando come into the shop with an intermittent stalling issue that was driving the owner crazy. It would run perfectly for days, then suddenly die at a stoplight and refuse to restart for 10-15 minutes. No specific trouble codes were stored, just a generic U-code for lost communication. The owner had already replaced the crankshaft position sensor and the fuel pump with no success. After running a full diagnostic, we found the ECM’s internal voltage regulator was failing when it reached operating temperature, causing it to shut down. We installed one of these VIN-programmed modules, performed the security relearn, and the Orlando ran flawlessly. It’s a classic case where a failing computer mimics the symptoms of other components.
Common Symptoms of a Failing ECM
- ✔ Persistent Check Engine Light (CEL) that won’t clear
- ✔ Engine stalling or shutting off unexpectedly
- ✔ No-start or hard-start conditions
- ✔ Noticeable decrease in fuel economy
- ✔ Rough idling or misfires
- ✔ Poor acceleration and overall engine performance
- ✔ Unexplained transmission shifting problems
- ✔ Communication errors with diagnostic scan tools
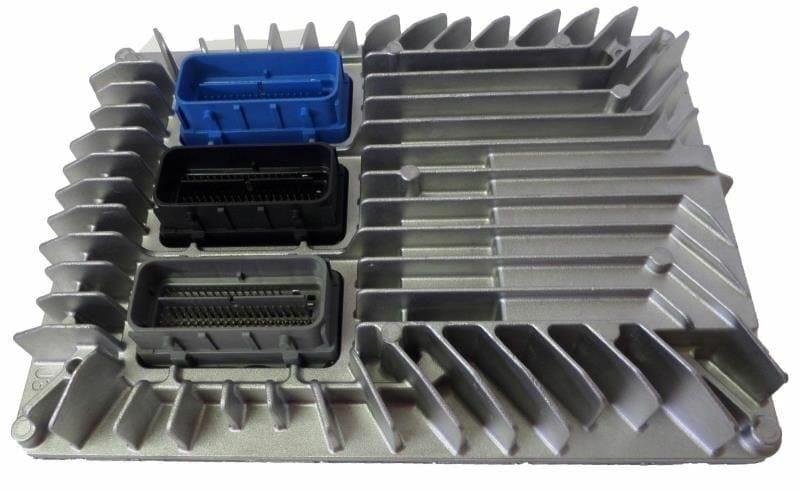
The Plug-and-Play Solution: Your 2012-2013 Orlando ECM
Don’t settle for a generic, unprogrammed module that will require an expensive trip to the dealership. We take the guesswork and hassle out of the repair. When you purchase this 2012-2013 Orlando ECM, we program it specifically for your vehicle using the VIN you provide at checkout. This ensures that all factory settings, immobilizer data, and vehicle-specific parameters are correctly configured. We flash it with the latest GM-certified software updates, which can resolve underlying issues and improve overall vehicle operation. The result is a module that is ready to install right out of the box, saving you time and money.
Simple Installation Process
Replacing the ECM is a straightforward process. It is typically located in the engine compartment on the driver’s side. After disconnecting the battery, you simply unplug the electrical connectors from the old unit, unbolt it, and install the new one in its place. Once the new module is connected and the battery is reconnected, you will likely need to perform a simple security relearn procedure (often called a key relearn). This procedure syncs the new ECM with your vehicle’s anti-theft system and can usually be done in your driveway without any special tools. Instructions are widely available online or in your vehicle’s service manual.
Guaranteed Compatibility
This ECM is a direct replacement for a wide range of GM vehicles and is compatible with multiple part numbers, ensuring a perfect fit and function. It is a reliable replacement for the following part numbers: 12616889, 12630908, 12637106, 12642665, 12650256, and 12651993. Please verify your original part number or consult the extensive fitment list to confirm compatibility with your specific make, model, and engine option.
Frequently Asked Questions
Is this ECM programmed and ready to install?
Yes, absolutely. This is the core of our service. You must provide your vehicle’s VIN during or after checkout. We will then program the module with your vehicle’s specific data and the latest GM software before shipping it. It arrives ready for installation.
What do I need to do after installing the new ECM?
After installation, you will need to perform a security relearn procedure. This is a simple process that syncs the new ECM to your vehicle’s anti-theft system and keys. It typically involves a sequence of turning the key in the ignition and waiting for specific intervals. No special tools are required for this step.
Where do I provide my VIN?
You can add your 17-digit Vehicle Identification Number (VIN) in the notes section at checkout or send it to us via email with your order number. We cannot ship your part until we receive the VIN, as the programming is essential.
Will this fix my specific problem, like the check engine light?
If the Engine Control Module has been correctly diagnosed as the faulty component, this replacement part will resolve the associated issues, including the check engine light. However, it’s crucial to ensure your vehicle has been properly diagnosed, as other faulty sensors or wiring can cause similar symptoms.
How do I find my original part number?
The part number is printed on a sticker on your original ECM. You may need to remove the module from the vehicle to see it clearly. Matching the part number is a good way to confirm compatibility, although our VIN programming ensures it will work correctly even if your original number differs slightly from the ones listed.