

Restore Full Functionality to Your GM Vehicle
Are you dealing with baffling electrical issues in your 2010 Escalade EXT? Flickering lights, unresponsive power windows, a security system that acts up, or strange messages on your dash are classic signs of a failing Body Control Module (BCM). As the central nervous system for your vehicle’s comfort and convenience features, a faulty BCM can make driving a frustrating experience. In my 20+ years of diagnostics, I’ve seen how a bad BCM can mimic a dozen other problems, leading to wasted time and money on incorrect repairs. This isn’t just an inconvenience; it can be a safety concern when interior or exterior lights fail unexpectedly.
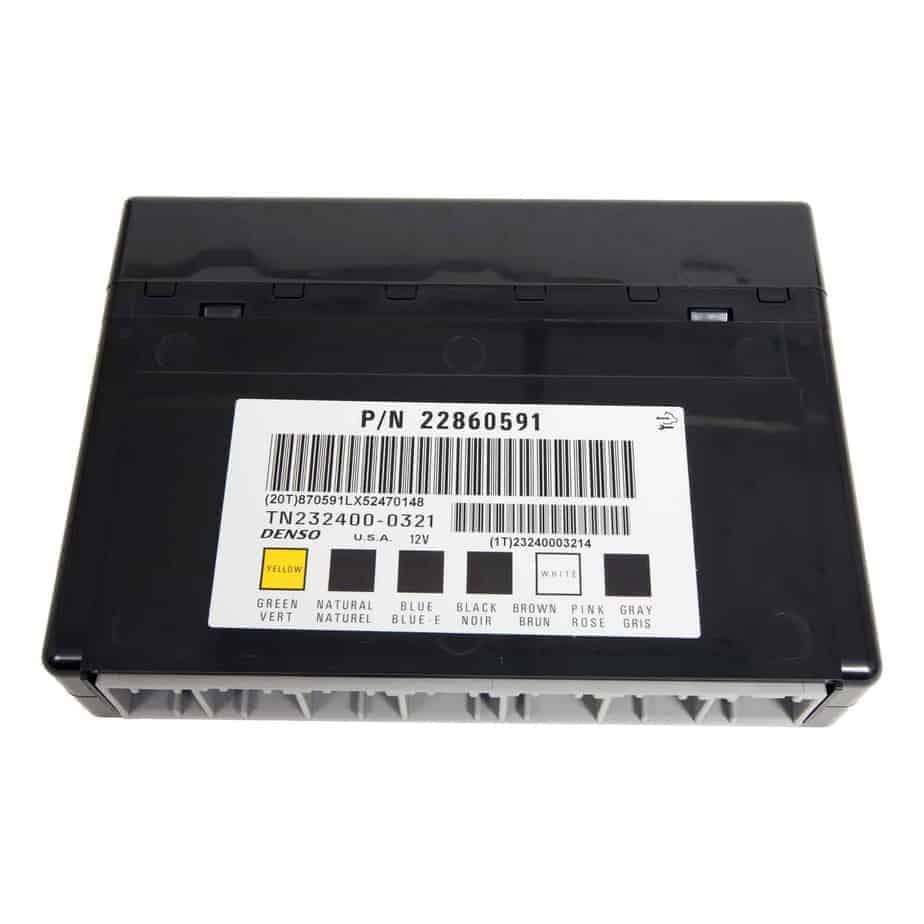
This is the definitive solution. We offer a reliable Body Control Module that comes ready for installation. The key is our professional cloning service: we take the essential data from your original BCM and transfer it to this replacement unit. This means no expensive trip to the dealership for programming. We flash the module with the latest GM software updates using your vehicle’s VIN, ensuring it communicates perfectly with your truck’s other systems right out of the box.
A Technician’s Notebook
I remember a 2010 Tahoe—a vehicle that shares this exact BCM platform with the Escalade—that came into the shop with the dashboard lit up like a Christmas tree. The owner had already replaced the battery and alternator. The real issue? The BCM was failing intermittently, causing communication loss codes (U-codes) across multiple systems. Instead of a complex, multi-day diagnostic nightmare, the fix was simple: we installed a VIN-programmed BCM. The codes cleared, the accessories started working again, and the customer was back on the road in under an hour. This is the power of a direct-fit, correctly programmed part.
Common Signs of a Failing BCM
- ✔ Erratic or non-functional interior and exterior lights.
- ✔ Power windows, door locks, or mirrors working intermittently or not at all.
- ✔ The security system or keyless entry malfunctioning, or a ‘Service Theft System’ message.
- ✔ Communication Diagnostic Trouble Codes (DTCs), such as U0140, U0155, or U0164.
- ✔ Unexplained battery drain while the vehicle is parked.
- ✔ Wipers or radio turning on and off by themselves.
Why Choose Our Pre-Programmed 2010 Escalade EXT BCM?
This isn’t just a part; it’s a complete, hassle-free solution. By handling the data transfer and programming before we ship, we eliminate the most difficult step of the repair. You receive a module that is truly plug-and-play, restoring the factory functionality your Escalade EXT was built with. This service saves you time, diagnostic headaches, and the high cost of dealership programming and labor.
A Straightforward Guide to Installation
- ✔ Safety First: Always disconnect the negative terminal from your vehicle’s battery before starting any electrical work.
- ✔ Locate the BCM: On your 2010 Escalade EXT, the BCM is typically found under the driver’s side of the dashboard, near the steering column.
- ✔ Disconnect and Remove: Carefully unplug the electrical connectors from the old BCM. They have locking tabs that must be depressed. Once disconnected, remove the bolts or clips holding the module in place.
- ✔ Install the New Module: Mount your new, pre-programmed BCM in the same location and securely reconnect all electrical connectors. Ensure they click into place.
- ✔ Power Up and Test: Reconnect the negative battery terminal. Turn the key to the ‘On’ position and test all body functions—lights, wipers, windows, locks, etc.—to confirm the repair.
Post-Installation Notes
In some cases, additional vehicle-specific relearn procedures may be needed. These are simple to perform with the right equipment.
- Airbag System Sync: If the airbag light is on after installation, a ‘Setup SDM Primary Key in BCM’ procedure is required using a professional scan tool.
- Brake Pedal Position Relearn: Some models may require this recalibration to ensure proper brake light and traction control operation.
Disclaimer: Specific procedures can vary by vehicle. Always consult a factory service manual or a qualified technician for guidance.
Verified Vehicle Compatibility
This BCM is a direct replacement for a wide range of General Motors vehicles. It is compatible with part numbers: 10382479, 15093910, 15276271, 15299986, 15819552, 15828601, 15837419, 15872388, 15872421, 15880684, 15921352, 15921353, 15948438, 15948439, 20815898, 20839063, 20864767, 20864768, 20921435, 20921436, 20935349, 22860591, 25826124, 25826125, 25847588, 25847589, 25892622, 25910474, 25934762, 25934763, and 95151084. It fits models such as the Cadillac Escalade, DTS, CTS, SRX; Chevrolet Avalanche, Tahoe, Suburban, Impala, Traverse, Equinox, Express; GMC Acadia, Yukon, Savana; Buick Enclave, Lucerne; and more. Please verify your part number or contact us with your VIN to confirm fitment.
Frequently Asked Questions
Frequently Asked Questions
How does the cloning service work?
After your purchase, you send us your original BCM. We use specialized equipment to extract the vehicle-specific data and transfer it to the replacement module. This ensures it’s a perfect match for your truck’s options and security system.
Do I need to send you my VIN?
Yes, providing your VIN is a critical step. We use it to load the latest GM software and calibrations for your specific 2010 Escalade EXT, ensuring optimal performance and compatibility.
Do you keep my old BCM?
No. Our core policy is simple: your original module is always returned to you along with the programmed replacement unit. We do not require a core deposit or keep your old part.
Will I need a scan tool after installation?
In most cases, no additional tools are needed. However, as noted, some vehicles may require an airbag system sync or brake pedal position relearn if related warning lights appear. This would need to be done with a professional-grade diagnostic tool.
Is this part difficult to install myself?
For someone with basic mechanical skills, this is a very manageable job. The BCM is typically accessible under the dash and involves unplugging connectors and removing a few fasteners. Our guide provides the general steps to follow.