
Is Your GM 3.6L Vehicle Acting Up? It Could Be The ECM.
If you’re experiencing baffling engine problems with your 2010-2011 Cadillac CTS, or another GM vehicle equipped with the 3.6L engine, you’re not alone. Issues like stalling for no reason, erratic shifting, a persistent Check Engine Light with multiple communication codes, or a complete no-start condition can often be traced back to a failing Engine Control Module (ECM). The ECM is the brain of your vehicle, managing everything from fuel injection and ignition timing to transmission shift points and emissions systems. When it starts to fail, it can create a cascade of frustrating and difficult-to-diagnose symptoms.
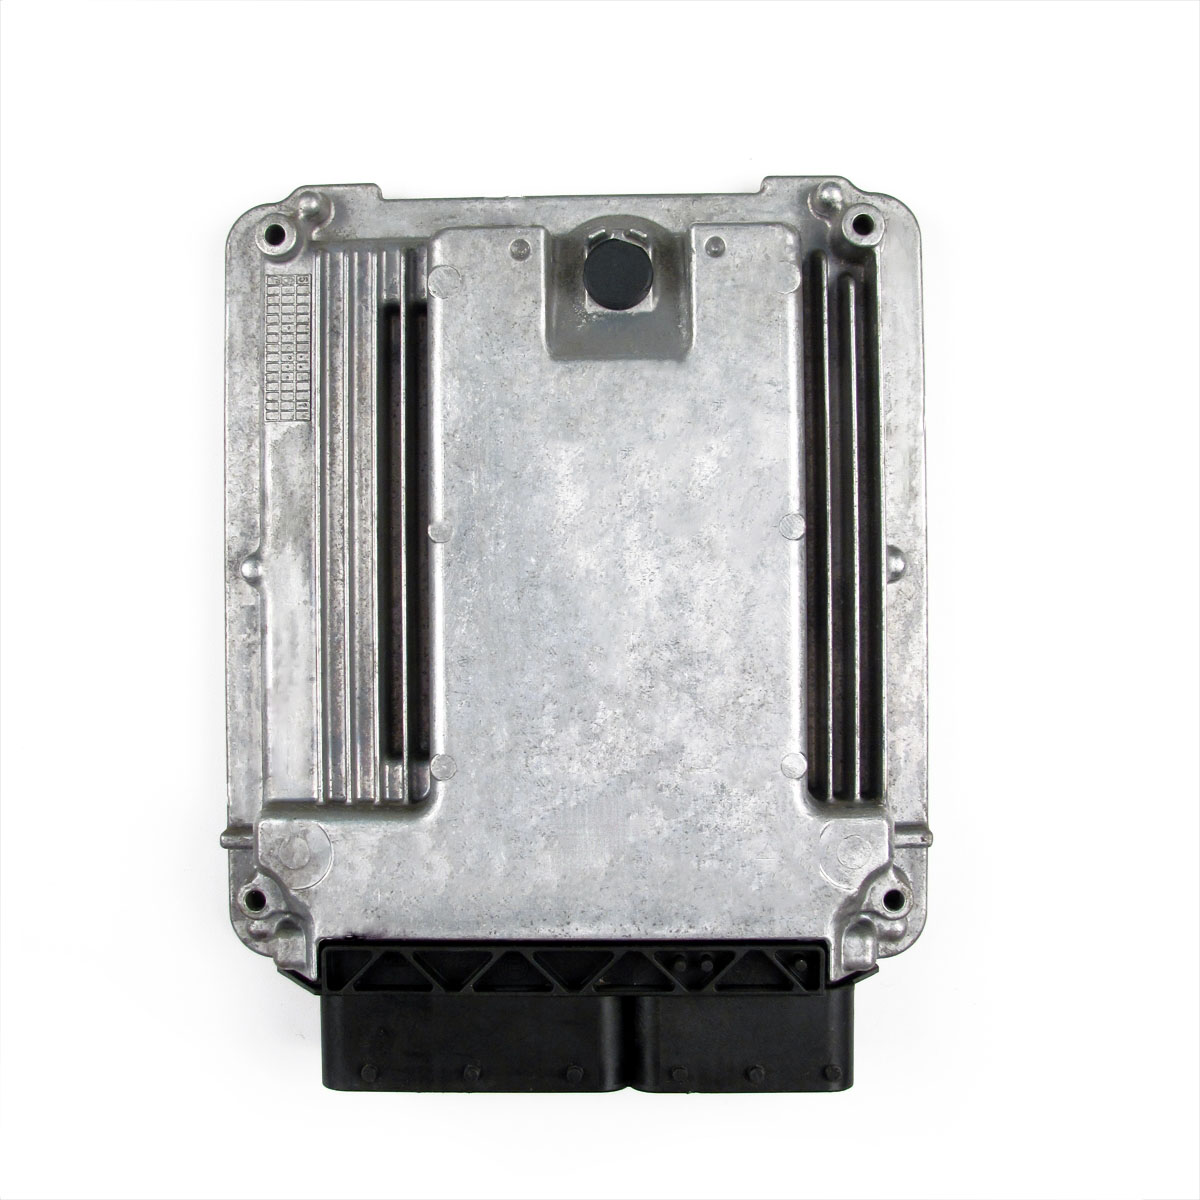
This replacement Engine Control Module, part number 19300014, is the definitive solution to restore your vehicle’s performance and reliability. We take the guesswork out of the repair by pre-programming the module specifically to your vehicle’s Vehicle Identification Number (VIN). This ensures that all factory settings, security information, and operational parameters are a perfect match for your car’s specific configuration. We also flash it with the latest, most stable software updates available from GM, which can resolve underlying drivability issues you may not have even known were software-related.
From the Diagnostic Bay
We had a 2011 Buick Enclave come in that was a real head-scratcher. The customer had already replaced the throttle body twice and the accelerator pedal position sensor based on codes P2135 and P0223. The vehicle would run fine for a few days, then suddenly go into ‘Reduced Engine Power’ mode. After confirming the new parts were good and the wiring harness had perfect continuity, we focused on the data stream from the ECM. We noticed the voltage readings from the throttle position sensors were dropping out intermittently, but only when the engine bay was hot. A thermal test on the original ECM confirmed our suspicion: internal components were failing under heat, causing the false sensor codes. Installing a properly programmed replacement ECM solved the problem permanently. It’s a classic case of the computer being the source of the ‘bad sensor’ data.
Diagnosing a Faulty 2010-2011 CTS ECM
A failing engine computer can manifest in numerous ways, often mimicking other component failures. Before condemning your module, it’s essential to rule out simpler issues like poor battery connections, faulty grounds, or sensor wiring problems. However, if you’re experiencing a combination of the following, the ECM is a primary suspect.
Common Symptoms of ECM Failure:
- ✔ Check Engine Light: The light may be on with communication-related codes (U-codes) or multiple, seemingly unrelated sensor codes.
- ✔ No-Start or Hard-Start: The engine cranks but refuses to start, or takes an excessively long time to fire up, especially when warm.
- ✔ Poor Performance: You may notice a significant loss of power, poor fuel economy, hesitation, or stumbling during acceleration.
- ✔ Erratic Shifting: The automatic transmission may shift harshly, at the wrong times, or get stuck in one gear.
- ✔ Stalling: The engine may stall unexpectedly while driving or when coming to a stop.
- ✔ Cooling Fans Inoperative or Always On: The ECM controls the cooling fan relay, and a failure can cause them to run constantly or not at all, leading to overheating.
- ✔ Failed Emissions Test: The vehicle may not be able to complete its readiness monitors for an emissions inspection.
The Plug-and-Play Solution
This isn’t just a part in a box; it’s a comprehensive service. By providing us with your VIN during checkout, you receive a module that is ready for installation. For most compatible vehicles, this means no expensive trips to the dealership for programming. Simply install the module, perform any necessary relearn procedures (such as a security relearn, which is often a simple key cycle procedure), and get back on the road. This module is a direct replacement for several part numbers, ensuring wide compatibility.
Compatible Part Numbers:
19300015, 19300014, 12617230, 12636355, 12635019
Vehicle Fitment:
- ✔ Cadillac CTS: 2010-2011 (3.6L)
- ✔ Cadillac STS: 2010-2011 (3.6L)
- ✔ Buick LaCrosse / Allure: 2010-2011 (3.6L)
- ✔ Chevrolet Camaro: 2010-2011 (3.6L)
- ✔ Chevrolet Traverse: 2010-2011
- ✔ GMC Acadia: 2010-2011
- ✔ Buick Enclave: 2010-2011
- ✔ Saturn Outlook: 2010
Important Note for Camaro & LaCrosse Owners: Due to the specific immobilizer systems in the 2010-2011 Camaro and LaCrosse, making the replacement ECM fully plug-and-play requires us to transfer security data from your original module. After your purchase, we will contact you with instructions for sending your old module to us for this data transfer service. This ensures a seamless installation without any anti-theft system complications.
Frequently Asked Questions
Do I need to do any programming after I receive this ECM?
For most vehicles listed, no. We program the module to your VIN before shipping, so it’s ready for installation. You may need to perform a simple security relearn procedure, which typically involves cycling the key and does not require special tools. For Camaro and LaCrosse models, we require your old unit to transfer immobilizer data for a true plug-and-play experience.
How do I provide my VIN?
You can add your vehicle’s 17-digit VIN in the notes section during checkout. If you forget, don’t worry! We will contact you via email after your purchase to request it. We cannot ship the module until we have your VIN to program it correctly.
Is this compatible with my 2011 GMC Acadia?
Yes, this ECM is the correct replacement for the 2010-2011 GMC Acadia. It is also compatible with the Traverse, Enclave, and Outlook from the same period.
What if my original part number is not 19300014?
This module is a direct replacement for several part numbers, including 19300015, 12617230, 12636355, and 12635019. As long as your original part number is on this list and your vehicle is in the fitment chart, this part will work perfectly.
What tools are needed for installation?
Installation typically requires basic hand tools like a socket set and ratchet to disconnect the battery and remove the module’s mounting bolts. The most important step is to disconnect the vehicle’s battery before starting the work to prevent any electrical damage.