Tired of Chasing Electrical Gremlins in Your GM Truck or SUV?
As a technician with over two decades of experience, I’ve seen it all. A customer comes in with a 2002 Silverado, and the story is always the same: the power locks work one day but not the next, the security light is on for no reason, the radio acts possessed, or worse, the vehicle won’t start intermittently. These aren’t separate problems; they’re classic symptoms of a failing Body Control Module (BCM). Your vehicle’s BCM is the central command for all its body-related electronic accessories. When it starts to fail, it can feel like your trusted truck is falling apart. Don’t waste time and money replacing individual switches and relays. The issue often lies right here, with the BCM.
This isn’t just a replacement part; it’s a complete solution. We offer a reliable GM Body Control Module that arrives at your doorstep pre-programmed and flashed with the latest GM software updates. All we need is your vehicle’s VIN. This critical step eliminates the need for an expensive trip to the dealership for programming, saving you hundreds of dollars and significant downtime. You get a part that’s ready to install, matched specifically to your vehicle’s options and configuration.
Case Study: A Tricky Diagnosis
A customer’s 2002 GMC Sierra came in last week with these exact symptoms: the dome light wouldn’t turn off, causing a constant battery drain, and the power windows were completely dead. The owner had already replaced the battery and two window switches with no luck. After a quick scan, we saw multiple communication loss codes pointing toward the BCM. A failing BCM can send confusing signals across the vehicle’s network, making diagnosis a nightmare for the uninitiated. We installed one of our VIN-programmed modules, and within an hour, every single issue was resolved. The customer was thrilled to have his truck back to normal without a massive dealership bill.
Common Signs of a Failing GM Body Control Module
- ✔ Erratic or non-functional power windows, door locks, and mirrors.
- ✔ Interior or exterior lights that stay on, flicker, or don’t work at all.
- ✔ The security or anti-theft light stays illuminated, preventing the engine from starting.
- ✔ Unexplained battery drain that leaves you with a dead battery overnight.
- ✔ Dashboard warning lights appearing randomly.
- ✔ Horn honking unexpectedly or not working when pressed.
- ✔ Intermittent issues with the radio or climate control displays.
Your Straightforward BCM Installation Guide
Replacing your GM Body Control Module is a manageable job for a confident DIYer. While the location varies slightly between a Silverado/Sierra (under the steering column) and an Astro/Safari (center dash), the process is similar.
- Safety First: Always disconnect the negative terminal from your vehicle’s battery before working on any electronic components.
- Locate the BCM: On most trucks and SUVs, it’s located under the driver’s side of the dashboard, near the steering column. On vans like the Astro and Safari, it’s typically behind the center dash panel.
- Disconnect and Remove: Carefully unplug the electrical connectors. They have locking tabs that need to be depressed. Once disconnected, unbolt or unclip the old BCM and remove it from the vehicle.
- Install the New BCM: Mount your new, pre-programmed BCM in the same location and securely reconnect all electrical connectors. You should hear a ‘click’ as they lock into place.
- Reconnect the Battery: Re-attach the negative battery terminal.
- Post-Installation Procedures (CRITICAL): After installation, two key procedures are required. 1) Airbag Light: The ‘Setup SDM Primary Key in BCM’ procedure must be performed with a compatible high-end scan tool to clear the airbag light. 2) Brake Pedal Position: Some vehicles require a Brake Pedal Position Sensor recalibration. If you are not equipped to perform these steps, a professional technician can complete them for you.
Verified Fitment for Your GM Truck, Van, or SUV
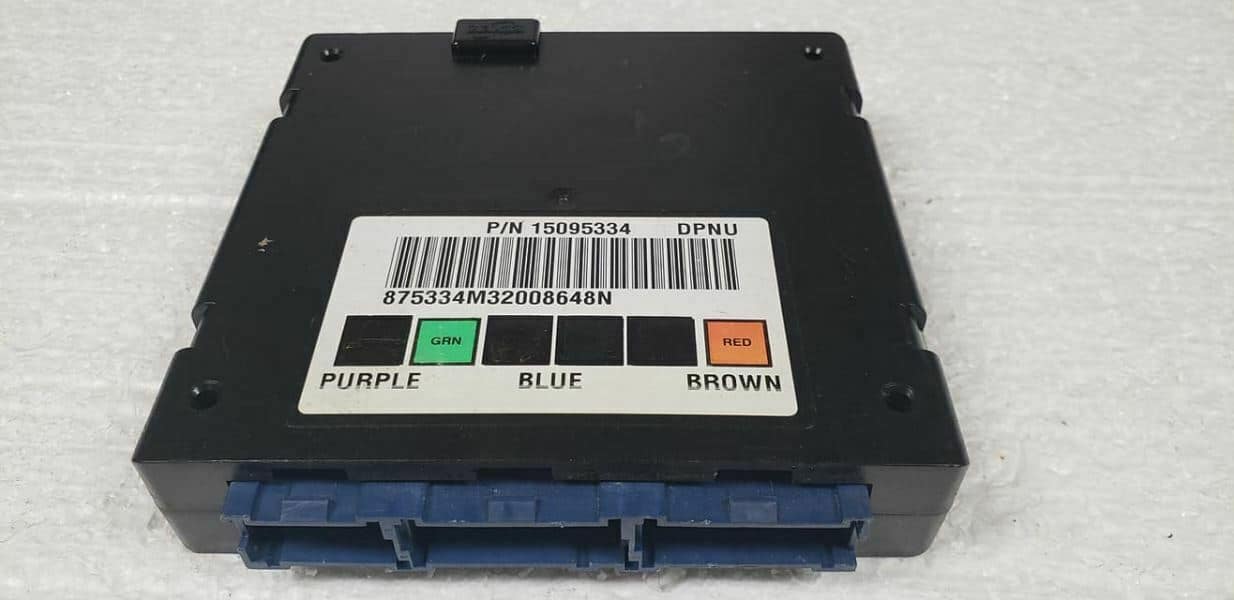
This module is a direct-fit replacement for a wide range of 2002-2005 GM vehicles. Please verify your part number (DPNU, 15063578, 15081796, 15095334, 19208537, DKAK) and check the list below. Remember to send us your VIN after purchase for essential programming.
- ✔ Chevrolet Silverado/GMC Sierra (1500, 2500, 3500): 2002
- ✔ Chevrolet Tahoe/Suburban & GMC Yukon/Yukon XL: 2002 (4×2 models)
- ✔ Chevrolet Avalanche 1500: 2002 (4×2 models)
- ✔ Cadillac Escalade: 2002 (4×2 models)
- ✔ Chevrolet Blazer S10 / GMC Jimmy S15: 2002-2005
- ✔ Chevrolet S10 / GMC Sonoma: 2002-2004
- ✔ Chevrolet Astro / GMC Safari: 2002-2005
Frequently Asked Questions
Do I really need to provide my VIN?
Yes, absolutely. Providing your VIN is mandatory. We use it to program the GM Body Control Module with the correct software and vehicle-specific options, ensuring it works correctly right out of the box. This step is what makes the installation process so much simpler than buying a blank module.
Will this fix my ‘Service 4WD’ light?
While a BCM can cause a variety of electrical issues, the ‘Service 4WD’ message is typically related to the Transfer Case Control Module (TCCM) or a sensor in the 4×4 system. This BCM primarily controls body accessories like lights, locks, and windows.
What tools are needed for the post-installation procedures?
The airbag system reset (‘Setup SDM Primary Key’) and brake pedal recalibration require a professional-grade bidirectional scan tool, such as a GM Tech 2 or a high-end Snap-on or Autel scanner. Most basic code readers cannot perform these functions.
Is this a simple plug-and-play installation?
It is ‘plug-and-program-and-play’. The physical installation is straightforward, and our pre-programming handles the most difficult part. However, as noted, you will need to perform the final airbag and possibly brake system recalibrations with a proper scan tool to complete the job fully.
My original part number isn’t DPNU but is on your list. Will this work?
Yes. Part numbers like 15063578, 15081796, and others listed are often superseded or updated by GM. Our module, programmed to your VIN, is the correct and updated replacement for all part numbers shown in the description.