

Is Your 2001 Lumina Experiencing Frustrating Engine Problems?
If you’re dealing with a no-start condition, erratic engine behavior, or a check engine light that just won’t go away on your 2001 Chevrolet Lumina, the Powertrain Control Module (PCM) is often the culprit. As a mechanic with over two decades of experience under the hood of these GM vehicles, I’ve seen firsthand how a failing PCM can cause a cascade of confusing issues that can be difficult to diagnose without the right knowledge.
The PCM is the central computer for your engine and transmission. It processes information from dozens of sensors to control fuel delivery, spark timing, and transmission shifts. When it starts to fail, the symptoms can be unpredictable and often mimic other problems, leading you to replace perfectly good parts.
Common Symptoms of a Failing GM PCM
Over the years, I’ve diagnosed hundreds of these specific PCMs. The failure points are almost always internal, caused by years of heat cycles and vibration in the engine bay. Here’s what you might be experiencing:
- ✔ Complete No-Start: The engine cranks but will not fire up. This often happens because the PCM is not commanding the fuel injectors or ignition coils to operate.
- ✔ Stalling or Rough Idle: Your Lumina might stall unexpectedly at a stoplight or run very poorly, shaking and sputtering.
- ✔ False Diagnostic Trouble Codes (DTCs): You might get codes for multiple failed sensors (like O2 sensors, MAF sensor, or crank sensor). Replacing these sensors doesn’t fix the problem because the PCM itself is providing faulty readings.
- ✔ No Communication with Scan Tool: A classic sign. If your mechanic plugs in their diagnostic tool and can’t communicate with the engine computer, it’s a strong indicator the PCM has failed.
- ✔ Poor Fuel Economy and Performance: A failing module can’t properly calculate the air-fuel mixture, leading to a noticeable drop in MPG and sluggish acceleration.
Expert Pro Tip: Check Your Connections First!
Before you condemn your PCM, take a moment to check the basics. I’ve saved customers hundreds of dollars by finding a simple loose or corroded ground wire. On these GM vehicles, check the main engine-to-chassis ground strap and the smaller ground wires attached to the engine block near the PCM. Also, use a multimeter to verify you have solid battery voltage and ignition power at the PCM connectors. A poor connection can mimic a complete module failure.
The Direct-Fit, Programmed Solution
This Powertrain Control Module is the reliable, straightforward solution to get your 2001 Lumina running correctly again. It’s not just a part in a box; it’s a complete service designed to save you time and money. We take the guesswork out of the repair by programming the module specifically for your vehicle before it ever leaves our facility.
- ✔ VIN-Specific Programming: Simply provide us with your vehicle’s 17-digit VIN during checkout. We will load the latest, most stable GM-approved software for your exact vehicle configuration. This ensures perfect compatibility and performance.
- ✔ No Dealer Visit Required: With our pre-programming service, you bypass the expensive trip to the dealership for flashing. The module arrives ready for the final installation steps.
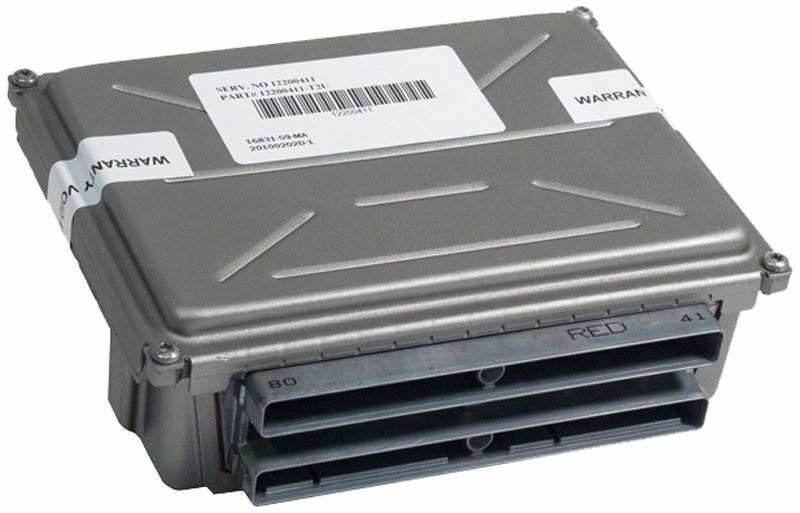
- ✔ Resolves Common Failures: This module is a direct replacement for original part numbers 12202600, 12209614, and 09360210, addressing the core hardware and software issues that cause them to fail.
Installation and Security Relearn
For the 2001 Lumina, the PCM is located in the left-hand (driver’s side) of the engine compartment, typically inside the air filter housing. The physical swap is straightforward:
- Disconnect the negative battery terminal.
- Access the PCM and carefully disconnect the electrical connectors.
- Unbolt and remove the old module.
- Install the new module and reconnect everything.
- Reconnect the battery.
After installation, you will need to perform a simple security relearn procedure (often called the Passlock or Passkey relearn). This syncs the new PCM with your vehicle’s anti-theft system. It doesn’t require any special tools and typically involves turning the key to the ‘ON’ position for 10-15 minutes, then off, and repeating two more times. This simple procedure is what makes the installation a true DIY-friendly job.