Restore Peak Performance to Your GM Vehicle
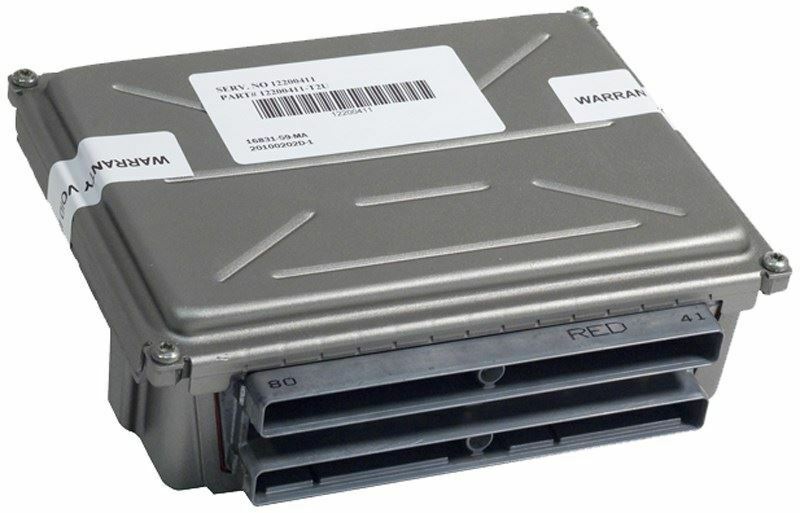
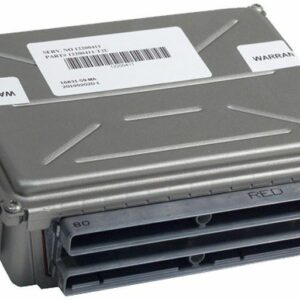
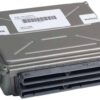
If you’re dealing with a frustrating check engine light, poor fuel economy, stalling, or a no-start condition in your 1999 Oldsmobile Alero or other compatible GM model, a failing Powertrain Control Module (PCM) is often the culprit. As the central computer of your vehicle, the PCM governs everything from fuel injection and spark timing to transmission shifting. When it fails, the symptoms can be widespread and confusing. This isn’t just a replacement part; it’s a direct solution to restore your vehicle’s reliability and drivability.
We take the guesswork and high costs out of the equation. Each 1999 Alero Powertrain Control Module is meticulously programmed to your vehicle’s specific Vehicle Identification Number (VIN) before it ships. This means it arrives loaded with the latest GM software updates, ready for a straightforward installation without requiring an expensive trip to the dealership for programming. It’s the smart, efficient way to get your car back on the road and running smoothly.
From the Diagnostic Bay: A Common GM PCM Scenario
I remember a 1999 Grand Am with the 3.4L V6 that came into my shop. The owner had already replaced the spark plugs, wires, and even the fuel pump chasing an intermittent stalling issue and a persistent P0300 (Random Misfire) code. The car would run fine for a few days, then suddenly start bucking and lose power. After hooking up my scan tool and watching the live data, I noticed the injector pulse width was erratic, and short-term fuel trims were jumping all over the place. This pointed away from a simple mechanical issue. The root cause? A failing PCM driver circuit. We installed a VIN-programmed module just like this one, performed the security relearn, and the car ran perfectly. It’s a classic example of how a faulty 1999 Alero Powertrain Control Module can mimic other failures, costing you time and money on unnecessary parts.
Is Your GM Showing These Telltale Signs?
A failing PCM can manifest in various ways. If you’re experiencing any of the following, this module is the likely solution:
- ✔ Persistent Check Engine Light (CEL)
- ✔ Diagnostic Trouble Codes (DTCs) related to internal module failure, such as P0601, P0603, or P0605
- ✔ Communication error codes (U-codes) with the scan tool
- ✔ Engine stalling, stumbling, or hesitating unexpectedly
- ✔ Harsh or erratic automatic transmission shifting
- ✔ A sudden, unexplained drop in fuel mileage
- ✔ Complete no-start condition where the engine cranks but won’t fire
A Straightforward Guide to Installation
Installing your new PCM is a manageable job for a DIY enthusiast. Follow these steps carefully for a successful replacement.
- Safety First: Always disconnect the negative terminal from your vehicle’s battery and secure it away from the post to prevent any accidental reconnection.
- Locate the PCM: On most compatible vehicles like the Alero and Grand Am, the PCM is located on the left-hand (driver’s) side of the center dash area, often accessible by removing the lower dash panel. On vans like the Venture or Silhouette, it’s typically in the engine compartment.
- Disconnect Connectors: Carefully unclip and remove the electrical wiring harnesses from the old module. These connectors have locking tabs that must be released before pulling. Avoid forcing them.
- Remove the Old Module: Unbolt the old PCM from its mounting bracket and remove it from the vehicle.
- Install the New Module: Mount your new, pre-programmed PCM securely onto the bracket. Reconnect the wiring harnesses, ensuring they click firmly into place.
- Reconnect Battery: Reattach the negative battery terminal.
- Perform Security Relearn (If Necessary): Many GM vehicles of this era require a security relearn procedure to allow the car to start. This typically involves turning the key to the ‘ON’ position for 10-15 minutes, then ‘OFF’ for 10 seconds, and repeating this cycle three times. Your vehicle’s service manual will have the exact procedure.
Verified Vehicle Compatibility
This module is a direct-fit replacement for a wide range of 1998 and 1999 General Motors vehicles. Please verify your part number (ID) and application from the list below. This part is compatible with service numbers 09356741, 16236757, 9357034, 9357440, and 9366314.
ALERO (3.4L, ID 16236757, 9356741, 9357440)
CUTLASS (ID 16236757)
GRAND AM (3.4L, ID 16236757, 9356741, 9366314, 9357034, 9347440)
1998 Models:
ACHIEVA (6-191, 3.1L)
BONNEVILLE
CAMARO (6-231, 3.8L)
CENTURY (6-191, 3.1L)
CUTLASS
EIGHTY EIGHT
FIREBIRD (6-231, 3.8L)
GRAND AM (6-191, 3.1L)
GRAND PRIX
INTRIGUE
LESABRE (6-231, 3.8L)
LUMINA CAR
MALIBU (6-191, 3.1L)
MONTE CARLO
PARK AVENUE (6-231, 3.8L)
REGAL
RIVIERA (6-231, 3.8L)
SILHOUETTE
SKYLARK (6-191, 3.1L)
TRANS SPORT
VENTURE (6-207, 3.4L)
Why do you need my VIN?
Your Vehicle Identification Number (VIN) is essential for us to program the module with the exact software and calibrations your vehicle requires from the factory. This ensures perfect compatibility and function, just like a part from a dealership.
Is this part difficult to install?
For most individuals with basic mechanical skills, the installation is straightforward. It involves disconnecting the battery, unplugging the old module, and plugging in the new one. The most critical step is the security relearn procedure, which is simple but requires following specific instructions.
Will this fix my check engine light?
If the check engine light is caused by an internal failure of the PCM (e.g., DTC P0601), then yes, this part is the correct fix. However, a check engine light can be caused by hundreds of other issues. Proper diagnosis is always recommended.
My original part number is different. Will this work?
This module replaces several service numbers, including 09356741, 9357034, and others listed. As long as your vehicle is on the compatibility list and your original part number is one of the listed interchanges, this module will work perfectly once programmed to your VIN.
What happens after I install it?
After installation and reconnecting the battery, you will likely need to perform the security relearn procedure. Once completed, your vehicle should start and run correctly. We recommend clearing any old fault codes with a scan tool after the repair.