Is Your GM Vehicle Running Rough? It Could Be The PCM.
As a mechanic with over two decades of experience under the hood, I’ve seen countless late-90s GM cars like your Skylark, Grand Am, or Century come into the shop with baffling issues. The owner complains of a car that stalls at red lights, hesitates on acceleration, gets terrible gas mileage, or just won’t start at all. They’ve often spent hundreds on new sensors and spark plugs, but the Check Engine Light remains stubbornly on. More often than not, the root cause is a failing Powertrain Control Module (PCM).
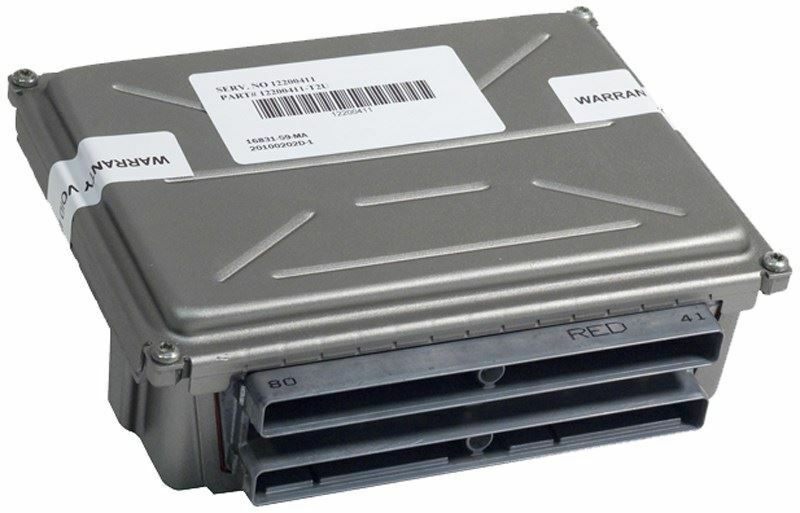
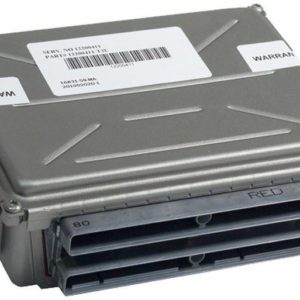
The PCM is the brain of your engine and transmission. When it starts to fail, it sends incorrect signals, leading to poor performance and frustrating, intermittent problems. This isn’t just an inconvenience; it’s a reliability issue that can leave you stranded. This replacement Powertrain Control Module is the definitive solution to restore your vehicle’s performance and dependability.
Why Choose Our Pre-Programmed 1998 Skylark PCM?
We take the guesswork and extra cost out of the repair. Unlike a generic part from a local store, this module arrives at your door specifically programmed for your vehicle. We use your Vehicle Identification Number (VIN) to flash the unit with the latest, most stable software updates directly from GM. This ensures perfect communication between all your vehicle’s systems.
- ✔ VIN-Programmed for You: We handle all the programming before we ship. No expensive dealer visits or special tools required.
- ✔ Resolves Common Failures: Effectively corrects issues like harsh shifting, random misfires, no-start conditions, and false sensor codes.
- ✔ Latest GM Software: Your module comes loaded with the newest updates, often improving on the original factory programming for better efficiency and performance.
- ✔ Broad Compatibility: This is a direct replacement for multiple service numbers, including 09356741, 16236757, 9357034, 9357440, and 9366314, fitting a wide range of GM models.
Expert Pro Tip From The Shop Floor
Before installing your new PCM, take a moment to inspect the electrical connector harness. Over 20+ years, the pins can develop a thin layer of corrosion that can cause communication errors, even with a new part. I always recommend using a dedicated electronics contact cleaner and a small nylon brush to gently scrub both the male and female pins. A clean connection is critical for these modules to function correctly and will prevent a lot of headaches down the road.
Plug-and-Play Installation: No Dealer Visit Required
You can get your car back on the road in under an hour with basic hand tools. The process is straightforward and designed for the DIY mechanic.
- Safety First: Disconnect the negative terminal from your car’s battery.
- Locate the PCM: On most of these GM vehicles (like the Skylark, Grand Am, and Century), the PCM is located inside the air filter box housing for protection. You may need to remove the air filter to access it.
- Disconnect and Remove: Carefully unclip the electrical connectors from the old module. Note their orientation. Then, unbolt and remove the old PCM.
- Install the New Module: Seat the new, pre-programmed module in place and secure it. Reconnect the electrical harnesses, ensuring they click firmly into place.
- Final Step: Reassemble the airbox and reconnect the negative battery terminal. The vehicle is now ready to start.