Is Your Late-90s GM Running Rough? The PCM is a Common Culprit.
If you’re dealing with a 1998 Oldsmobile Eighty Eight, or another GM vehicle from that era, that’s suddenly developed a mind of its own—think erratic shifting, stalling for no reason, a persistent check engine light, or even a complete no-start condition—the Powertrain Control Module (PCM) is one of the first places a seasoned technician like me will look. These modules are the electronic brain of your vehicle, and after 20+ years of service, they are prone to failure.
A Real-World Scenario from the Shop
“A customer’s 1998 Buick LeSabre came in last week with these exact symptoms. It would start fine cold, but after 15 minutes of driving, it would stall at stoplights and the transmission would slam into gear. His local shop replaced sensors and plugs, but the problem persisted. We connected our diagnostic scanner and found a ‘No Communication with PCM’ error. This is a dead giveaway. The heat soak from the engine was causing an internal failure on the main board. We installed one of these VIN-programmed modules, performed the security relearn, and the car ran perfectly. This part saved him from a massive diagnostic headache and got his reliable car back on the road.”
The Brain of Your Operation: Why a Healthy PCM Matters
The PCM, also known as the Electronic Control Module (ECM), is responsible for managing dozens of critical functions. It takes data from sensors all over your vehicle to control fuel injection timing, ignition spark, transmission shift points, and emissions systems. When it fails, the symptoms can be widespread and confusing.
Common Symptoms of a Failing GM PCM:
- ✔ Check Engine Light (CEL) is on with various communication or sensor codes.
- ✔ The engine cranks but refuses to start.
- ✔ Harsh or delayed transmission shifting.
- ✔ Unexplained stalling, especially when the engine is warm.
- ✔ A noticeable drop in fuel economy.
- ✔ The cooling fans run constantly or not at all.
- ✔ Your diagnostic scan tool cannot communicate with the module.
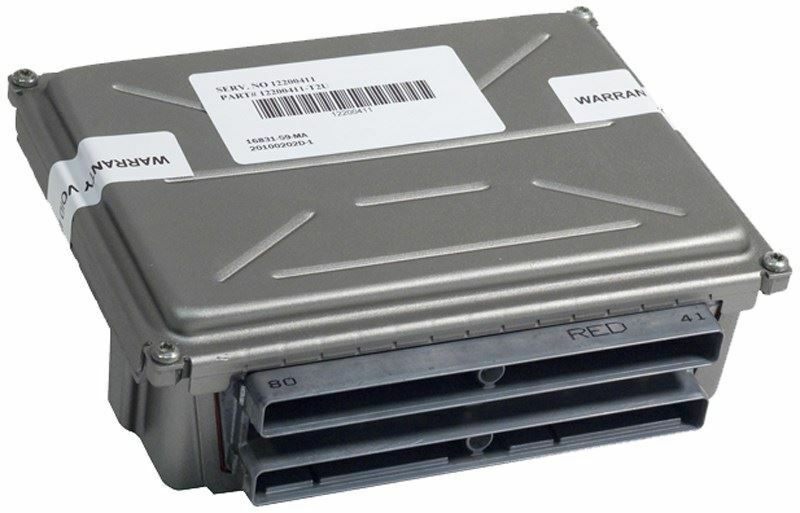
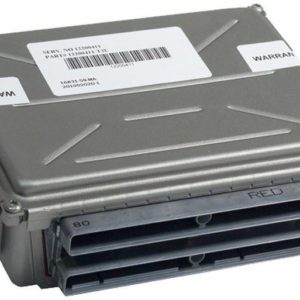
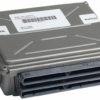
The Solution: A VIN-Programmed, Ready-to-Install Module
This isn’t just a replacement part; it’s a complete solution. We take a quality, tested PCM and flash it with the latest official GM software calibration specifically for your vehicle. All you have to do is provide us with your 17-digit Vehicle Identification Number (VIN) during checkout. This critical step ensures the module communicates perfectly with your car’s engine, transmission, and security system right out of the box.
What VIN Programming Does For You:
- ✔ Saves You Money: No need for an expensive trip to the dealership for programming.
- ✔ Saves You Time: The module arrives ready for installation. In most cases, after installation, you will only need to perform a simple security relearn procedure (often called a ‘key-on/key-off’ cycle) which you can do yourself.
- ✔ Ensures Compatibility: The software is matched precisely to your vehicle’s original specifications and includes any updates GM released to fix factory bugs.
Guaranteed Fitment and Cross-Compatibility
This module is a direct replacement for several original GM service numbers. If the part number on your original module matches any of the following, this is the correct part for you:
Compatible Service Numbers: 09356741, 16236757, 9356741, 9357034, 9357440, 9366314
This PCM was used across a wide range of popular GM vehicles, making it a proven and reliable component. Please verify your vehicle is on the list below:
- ✔ 1998-1999 Oldsmobile: Eighty Eight, Cutlass, Alero, Achieva, Intrigue, Silhouette
- ✔ 1998-1999 Pontiac: Grand Am, Grand Prix, Firebird, Bonneville, Trans Sport
- ✔ 1998-1999 Buick: LeSabre, Park Avenue, Riviera, Century, Skylark, Regal
- ✔ 1998 Chevrolet: Lumina, Monte Carlo, Camaro, Malibu
- ✔ 1998 Chevrolet/GMC Vans: Venture
Note: For 1999 models like the Alero and Grand Am, please verify the ID number on your original module to ensure a match.
Simple Installation Process
For most of these vehicles, the PCM is located in the engine compartment, often inside the air filter box for protection. The replacement process is straightforward for a DIYer with basic tools.
- Disconnect the negative battery terminal.
- Locate and remove the old PCM (typically involves removing the air filter housing).
- Carefully disconnect the wiring harness connectors. Inspect them for any corrosion or damage.
- Install the new PCM, reconnect the harnesses, and reassemble.
- Reconnect the battery and perform the security relearn procedure as needed.
By ordering this part, you’re getting a reliable component, expert programming, and the confidence to get your car running right again. Provide your VIN and let us handle the rest.