Is Your GM Truck or Van Running Rough?
If you’re dealing with a no-start condition, a persistent check engine light, erratic shifting, or poor fuel economy in your 1998-1999 GM vehicle, a failing Powertrain Control Module (PCM) is often the culprit. As the brain of your engine and transmission, when the PCM goes bad, it can cause a host of frustrating and hard-to-diagnose issues. I’ve seen it hundreds of times in my shop: a perfectly good engine that just won’t run right because the computer is failing.
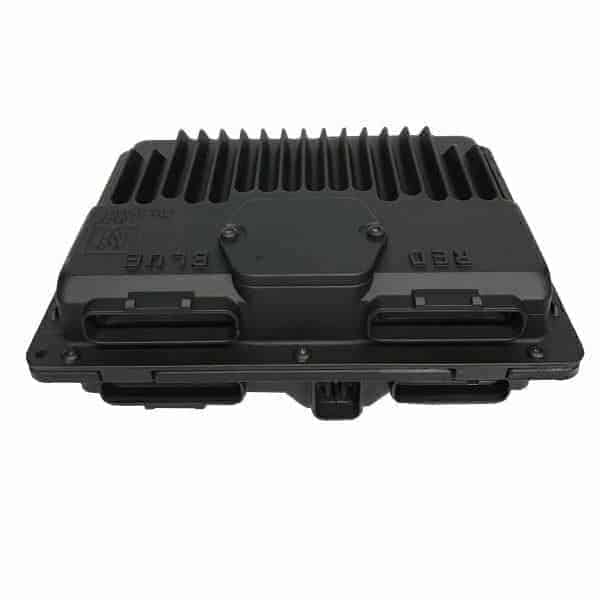
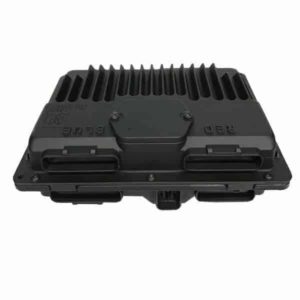
This is a reliable, tested, and used OEM PCM that offers a direct-fit solution. The best part? We handle the complicated part for you. Simply provide your vehicle’s VIN during checkout, and our technicians will program the module with the latest GM-certified software specifically for your truck or van. It arrives at your door ready to install, no expensive trip to the dealership required.
Key Symptoms of a Failing PCM:
- ✔ Check Engine Light is on with communication error codes.
- ✔ Vehicle will not start or is difficult to start.
- ✔ Rough idling or stalling.
- ✔ Noticeable decrease in fuel efficiency.
- ✔ Harsh or unpredictable transmission shifting.
- ✔ Failure to pass an emissions test.
Expert Pro Tip from a 20-Year Technician
Before you install your new PCM, take a moment to inspect the wiring harness connectors. On these late 90s GM trucks, the seals can get brittle. I’ve seen many cases where a perfectly good replacement PCM was installed, only for the old problems to return because of moisture or corrosion on the connector pins. A quick spray with an electronics-safe contact cleaner and a visual check for any green or white powder can save you a major headache down the road. It’s a five-minute check that ensures a solid connection and a successful repair.
Easy Installation for the DIY Mechanic
You don’t need to be a master technician to get your truck back on the road. Installing this pre-programmed PCM is a straightforward process that can typically be done in under an hour with basic hand tools.
- Safety First: Always disconnect the negative terminal from your vehicle’s battery.
- Locate the PCM: On most of these trucks and vans, the PCM is located in the engine compartment, typically on the driver’s side fender well or near the battery.
- Disconnect Connectors: Carefully unclip the wiring harness connectors from the old module. There are usually release tabs that need to be pressed or lifted.
- Remove Old Module: Unbolt the old PCM from its mounting bracket.
- Install New Module: Bolt the new, pre-programmed PCM into place and securely reconnect the wiring harnesses. You should hear a ‘click’ as they lock in.
- Reconnect Battery: Re-attach the negative battery terminal. Your vehicle is now ready to start.
Guaranteed Compatibility & Part Number Information
This module is a direct replacement for several service numbers. To ensure a perfect match, please verify that your original module has one of the following part numbers printed on its label:
Interchangeable Part Numbers: 09355699, 16266645, 9355699, 16250279, 16258815, 09366810, 9366810
Vehicle Fitment for this 1998-1999 GMC 1500 PCM and Equivalents
This unit is confirmed to fit a wide range of GM vehicles. Please match your vehicle and the ID number 9355699 from your original part.
- Cadillac Escalade: 1999
- Chevrolet Trucks: 1500, 2500, 3500 Pickup (1998-1999)
- Chevrolet SUVs: Blazer S10, Suburban 1500/2500, Tahoe (1998-1999)
- Chevrolet Vans: Astro, Express 1500/2500/3500 (1998-1999)
- GMC Trucks: 1500, 2500, 3500 Pickup (1998-1999), S15 Sonoma (1998)
- GMC SUVs: Jimmy S15, Yukon (1998-1999)
- GMC Vans: Safari, Savana 1500/2500/3500 (1998-1999)
- Isuzu: Hombre (1998, 4.3L)
- Oldsmobile: Bravada (1998), Envoy (1998)