Is Your GM Truck or Van Running Rough? Get a Reliable, Programmed Solution.
If you’re dealing with a frustrating no-start condition, a persistent check engine light, erratic shifting, or terrible fuel economy in your late 90s GM vehicle, the Powertrain Control Module (PCM) is often the culprit. As a mechanic with over two decades of experience, I’ve seen these exact issues on hundreds of Chevy, GMC, and Cadillac trucks and vans. The PCM is the brain of your engine and transmission, and when it fails, it can cause a cascade of problems that are impossible to ignore. This isn’t just an annoyance; it’s a reliability issue that can leave you stranded.
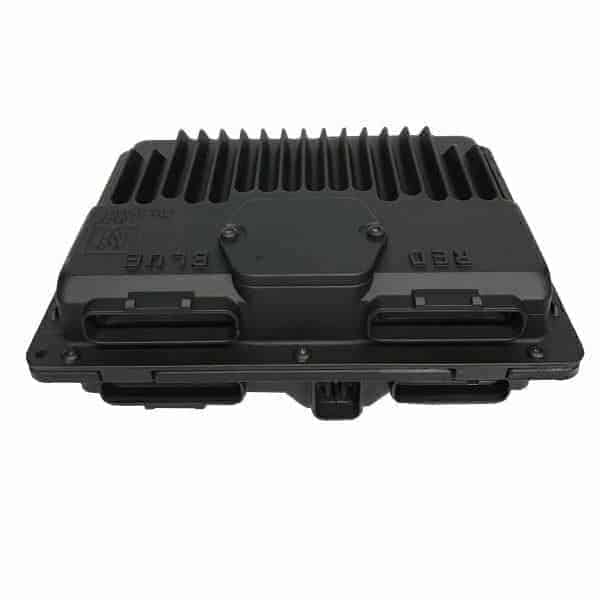
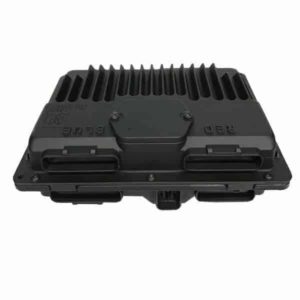
The Simple, Direct-Fit Fix: Programmed and Ready to Install
Forget expensive dealership visits and the hassle of finding a shop that can program a replacement module. We offer a straightforward solution: a dependable, used OEM PCM that is professionally programmed to your vehicle’s specific Vehicle Identification Number (VIN) before it ships. This ensures that all factory settings, security information (if applicable), and the latest GM software updates are correctly loaded for your exact configuration. It arrives at your door ready for a simple, plug-and-play installation.
Expert Pro Tip: Check Your Grounds Before Installation
Before you swap in your new PCM, take 10 minutes to inspect and clean the main engine and body ground connections. On these GMT400-platform vehicles, a corroded or loose ground strap (especially the one from the engine block to the frame) can cause voltage irregularities that mimic PCM failure. A bad ground can also damage the replacement module. A quick cleaning with a wire brush can save you a major headache and ensure your new part works perfectly from the start.
Common Symptoms of a Failing GM PCM:
- ✔ Check Engine Light is on with various communication or sensor codes
- ✔ Vehicle will not start or stalls intermittently
- ✔ Harsh or erratic automatic transmission shifting
- ✔ Noticeable drop in fuel mileage
- ✔ Engine misfires or runs poorly
- ✔ Failure to pass an emissions test
Easy Installation for Your 1998-1999 Chevrolet 3500 PCM
You don’t need to be a master mechanic to replace your PCM. With basic hand tools, you can get your truck back to factory-spec performance right in your own driveway.
- Safety First: Disconnect the negative terminal from your vehicle’s battery.
- Locate the PCM: On most trucks and SUVs like the Chevrolet 3500, the PCM is located in the engine compartment, typically on the driver’s side fender well. On vans, it’s often in the rear of the engine compartment.
- Disconnect Connectors: Carefully unclip the wiring harness connectors from the old PCM. Inspect the pins for any corrosion or damage.
- Remove the Old Module: Unbolt the old PCM from its mounting bracket.
- Install the New Module: Bolt your VIN-programmed replacement PCM into place.
- Reconnect Everything: Securely plug the wiring harnesses into the new module. Reconnect the negative battery terminal.
- Start the Engine: Your vehicle should now start and run correctly with the new module. No further programming is required.
Guaranteed Compatibility and VIN Programming
This module is a direct replacement for several part numbers, ensuring wide compatibility. We handle the complex part by programming it specifically for you. After placing your order, simply provide us with your 17-digit VIN, and we’ll take care of the rest.
This unit is a direct replacement for part numbers: 09355699, 16266645, 9355699, 16250279, 16258815, 09366810, 9366810.
This part fits a wide range of 1998-1999 GM models, including but not limited to:
- Chevrolet & GMC Pickups (1500, 2500, 3500)
- Chevrolet & GMC Vans (Express, Savana, Astro, Safari)
- Chevrolet & GMC SUVs (Tahoe, Yukon, Suburban)
- Cadillac Escalade
- Oldsmobile Bravada & GMC Envoy
- Isuzu Hombre
Please verify your part number or message us with your VIN to confirm fitment before ordering.