Is Your GM Truck or Car Running Rough?
If you’re dealing with a frustrating no-start condition, erratic idling, a persistent check engine light, or poor fuel economy in your late 90s GM vehicle, the Powertrain Control Module (PCM) is often the culprit. After 20+ years on the road, the original electronics can fail due to heat cycles and vibration, leading to a host of driveability nightmares. I’ve seen it hundreds of times in my shop: a perfectly good engine held back by a faulty computer. This isn’t just an inconvenience; it’s a reliability issue that can leave you stranded.
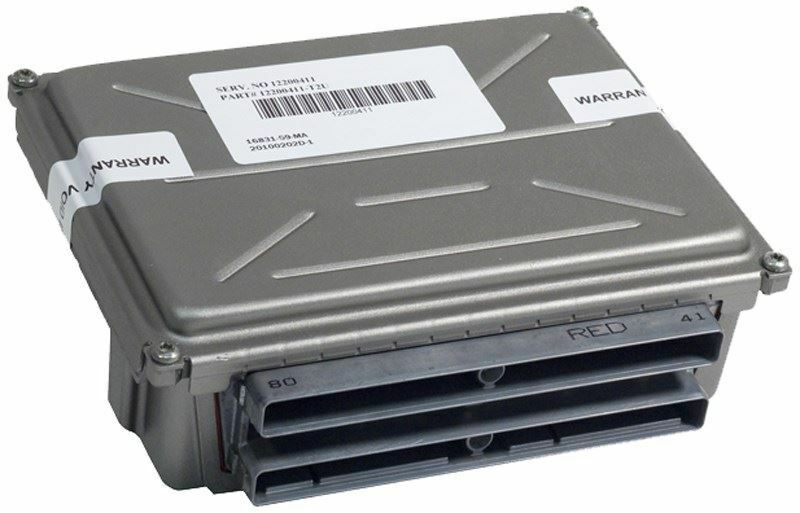
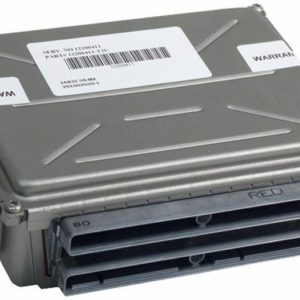
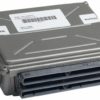
The Direct, Reliable Solution: A VIN-Programmed PCM
Forget the costly trip to the dealership and the uncertainty of a junkyard part. This Powertrain Control Module is the definitive solution to get your vehicle running right again. We take all the guesswork out of the process. When you order, simply provide your vehicle’s 17-digit VIN. Our technicians will then program the module with the latest, most stable software calibration directly from GM for your specific vehicle. It arrives at your door ready for a straightforward installation, saving you hundreds in diagnostic and programming fees.
Expert Pro Tip: Check Your Connectors Before Installation
Over the years, I’ve seen countless PCMs replaced only for the problem to persist. Before you install this new module, take a moment to inspect the wiring harness connectors. On vehicles like the S10/Sonoma where the PCM is in the engine bay, the connector seals can become brittle. Look for any green or white corrosion on the pins or signs of moisture intrusion. Use a quality electronics cleaner and a small nylon brush to gently clean both the male and female pins. A clean, solid connection is critical for the PCM to function correctly and will prevent future headaches.
Key Symptoms of a Failing 1997-2000 S10 PCM:
- ✔ Engine cranks but will not start
- ✔ Stalling for no apparent reason, especially when warm
- ✔ Harsh or erratic automatic transmission shifting
- ✔ Drastically reduced fuel mileage
- ✔ Check Engine Light (CEL) on with communication error codes
- ✔ Failure to pass an emissions test
Plug-and-Play Installation: No Dealer Visit Required
Installing your new PCM is a job most DIYers can handle in under an hour with basic hand tools. Here’s a general guide:
- Safety First: Disconnect the negative terminal from your vehicle’s battery and secure it away from the post.
- Locate the PCM: On most S10/S15/Sonoma and Cavalier/Sunfire models, the PCM is located in the engine compartment on the right-hand (passenger) side. On other models like the Grand Am or Malibu, it may be under the dash.
- Disconnect the Harness: Carefully unclip and remove the wiring harness connectors from the old module. Note their color or orientation if they are different.
- Remove the Old Module: Unbolt the old PCM from its mounting bracket.
- Install the New Module: Bolt your new, pre-programmed PCM into place.
- Reconnect Everything: Securely plug the wiring harness connectors into the new module. Reconnect your vehicle’s negative battery terminal.
- Final Step: In some cases, a security relearn procedure may be necessary, which typically involves turning the key to the ‘ON’ position for 10-15 minutes. Your vehicle’s service manual will have the specific steps if required.
Guaranteed Compatibility
This module is a direct replacement for units with service numbers 16228016, 8162280160, and 16245305. It is guaranteed to fit and function correctly in the following vehicles:
- Chevrolet S10 / GMC Sonoma: 1997-2000 (2.2L Engine)
- Isuzu Hombre: 1996-2000 (2.2L Engine)
- Chevrolet Cavalier: 1997-1999
- Pontiac Sunfire: 1997-1999
- Chevrolet Malibu: 1997-1999 (2.4L Engine)
- Pontiac Grand Am: 1997-1999 (2.4L Engine)
- Oldsmobile Achieva: 1997-1998 (2.4L Engine)
- Buick Skylark: 1997-1998 (2.4L Engine)
Restore the performance and reliability of your vehicle with a professionally programmed, ready-to-install Powertrain Control Module. Place your order today and let’s get you back on the road.