

Get Your Family’s Orlando Running Smoothly Again
Is your 2012 or 2013 Chevrolet Orlando suffering from frustrating and unpredictable engine problems? A persistent check engine light, poor fuel economy, stalling, or rough running can turn your reliable family vehicle into a source of daily stress. These are classic signs of a failing Engine Control Module (ECM). This isn’t just an inconvenience; it’s a critical issue that compromises your vehicle’s performance and safety. Our professionally programmed ECM is the definitive solution to restore your Orlando’s dependability and get you back on the road with confidence.
Common Symptoms & Your Solution
A faulty ECM can manifest in numerous ways, often leading to confusing diagnostics. If you’re experiencing any of the following, it’s highly likely the engine computer is the culprit:
- Persistent Check Engine Light (CEL)
- Diagnostic Trouble Codes (DTCs) such as P0601, P0606, or communication errors.
- Unexplained stalling or difficulty starting.
- Noticeable decrease in fuel efficiency.
- Rough idling or engine hesitation during acceleration.
- Transmission shifting problems or warning lights.
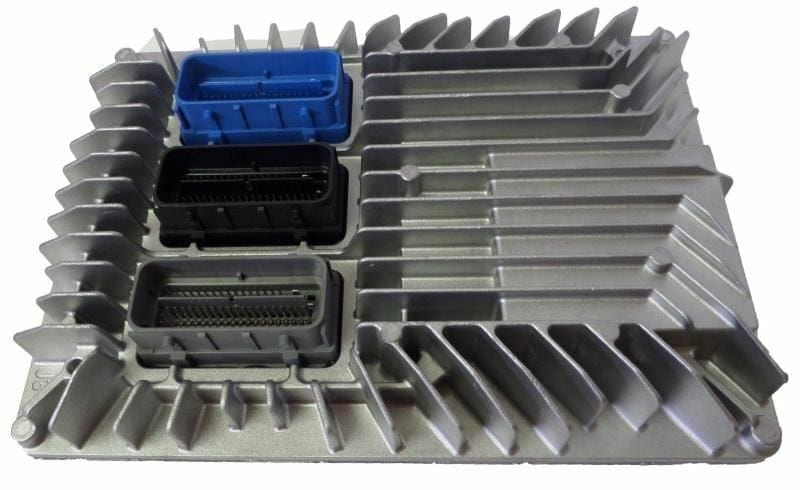
This replacement unit is the direct answer to these issues. We provide a professionally prepared 2012-2013 Orlando Programmed ECM that eliminates the guesswork and costly dealership visits.
Features & Benefits
- ✔ VIN-Specific Programming: We flash this module with the latest GM software updates using your vehicle’s unique VIN. This ensures perfect communication between the computer and your Orlando’s specific systems.
- ✔ Plug-and-Play Installation: Because the unit arrives pre-programmed, it simplifies the installation process significantly. No need for expensive dealer tools or additional programming sessions.
- ✔ Restored Performance & Efficiency: A new, correctly programmed ECM restores your engine’s original performance parameters, improving fuel economy, throttle response, and overall drivability.
- ✔ Guaranteed Compatibility: This module is a direct replacement for a wide range of part numbers, including 12616889, 12630908, 12637106, 12642665, 12650256, and 12651993.
- ✔ Peace of Mind Protection: This unit is backed by our one-year replacement warranty.
Expert Insight: The Critical Role of VIN Programming
From over two decades in diagnostics, I’ve seen countless vehicle owners install a used, non-programmed ECM only to find their problems get worse. Without matching the computer to your car’s VIN, critical systems like the anti-theft immobilizer, transmission controls, and emissions equipment will not function correctly. Your car may not even start. Our process of programming the 2012-2013 Orlando Programmed ECM before it ships to you is the most crucial step. It ensures all vehicle-specific options are correctly configured, saving you from the headache of a car that’s locked down or performing poorly after the repair.
Frequently Asked Questions
How does the programming process work?
It’s simple. After you complete your purchase, you will need to provide us with your vehicle’s 17-digit VIN (Vehicle Identification Number). We use this number to access the latest official GM software for your specific vehicle and flash it directly onto the module before we ship it to you.
Will I need to do any additional programming after installation?
No. This ECM arrives ready to install. In most cases, it is a plug-and-play solution. However, some vehicles may require a simple security or CASE relearn procedure, which can be performed with a capable scan tool. This is a standard step for this type of repair.
Where is the VIN located on my vehicle?
You can find your VIN in several places: on a metal plate on the driver’s side dashboard (visible through the windshield), on the driver’s side door jamb sticker, and on your vehicle’s registration and insurance documents.
Is this a new or used part?
This is a quality, tested used OEM part that has been professionally prepared and programmed for your vehicle. This provides OEM-level reliability and function without the high cost of a new-from-dealer part.
What if I have a different part number on my old ECM?
The provided list of compatible part numbers covers a wide range of original units. As long as your vehicle is a 2012-2013 Orlando and your original part number is on our list, this module will be the correct, programmed replacement for your vehicle.